SplunkでWindowsのイベントログを閲覧できるまで設定が終わっていることを前提;
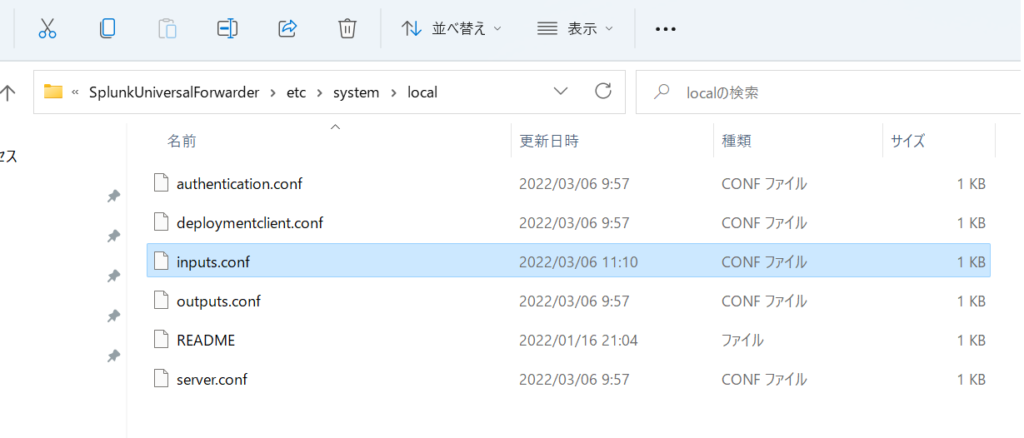
SplunkのAPP 「TA for Microsoft Windows Defender」をSplunkへ導入し、Windows側のUniversalForwarderのinputs.confに次を追加する。
[WinEventLog://Microsoft-Windows-Windows Defender/Operational]
disabled = false
blacklist = 1001, 1150, 2011, 2000, 2001, 2002, 2010
UniversalForwarderを再起動すると、Splunkのサーチでソースタイプとして”WinEventLog:Microsoft-Windows-Windows Defender/Operational”が見えるようになる。
Raspberry PiへUniversalForwarderをインストール
インストールの手順: https://www.splunk.com/ja_jp/blog/tips-and-tricks/how-to-install-universal-forwarder-01.html
DownloadのLINK: https://www.splunk.com/en_us/download/universal-forwarder.html
インデックスサーバへ転送するための設定:
indexerの設定(PORT 8089)
/opt/splunkforwarder/bin/splunk add forward-server <INDEXER_IP>:<INDEXER_PORT>モニター対象のファイル設定
How to install Splunk Forwarder on Ubuntu
例:$sudo splunk add monitor /var/log/apache2/access.log
モニター用のコマンド
[sudo] $SPLUNK_HOME/bin/splunk add monitor <取り込みファイルorディレクトリパス> [-パラメータ 値]
OSの起動時にsplunkを起動する設定
/opt/splunkforwarder/bin/splunk enable boot-start