Pan/Tiltの台座を購入してみました。ネジが曲がっていたり数が合わないのは想定内?パーツの不具合を補うため、3Dプリンターでパーツを作る。
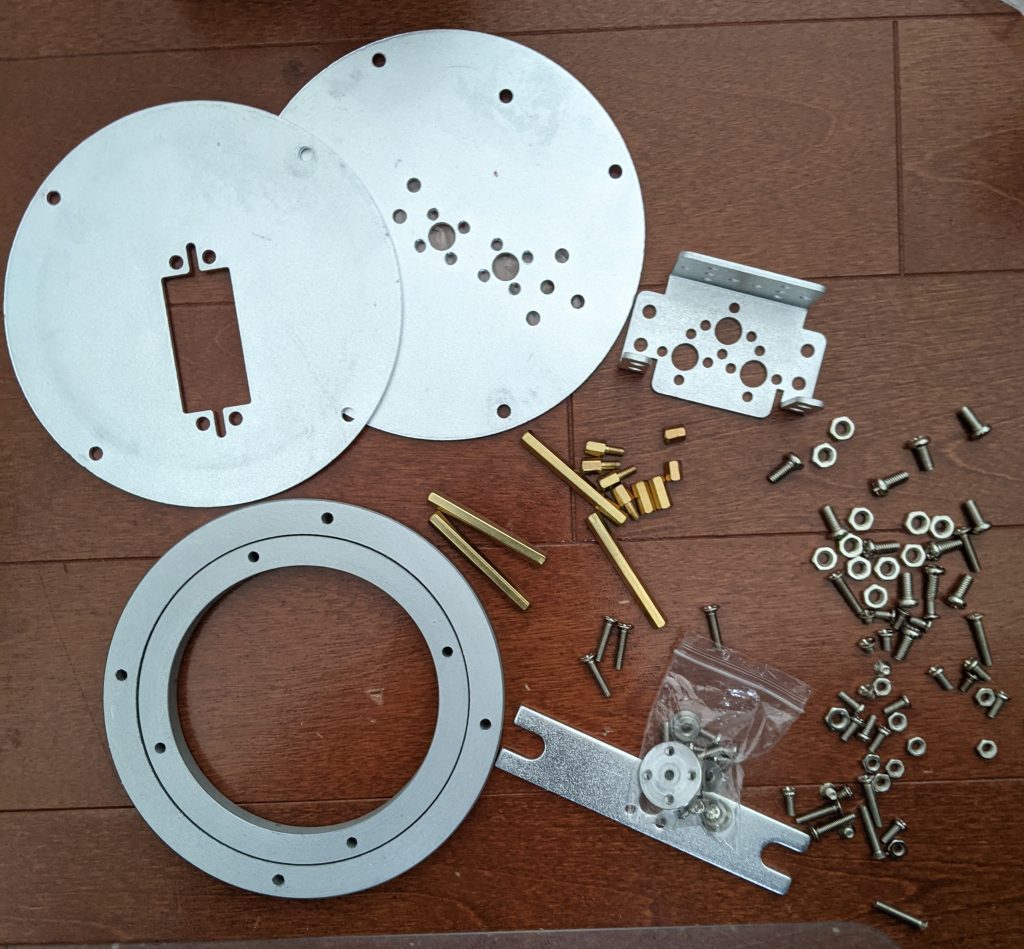
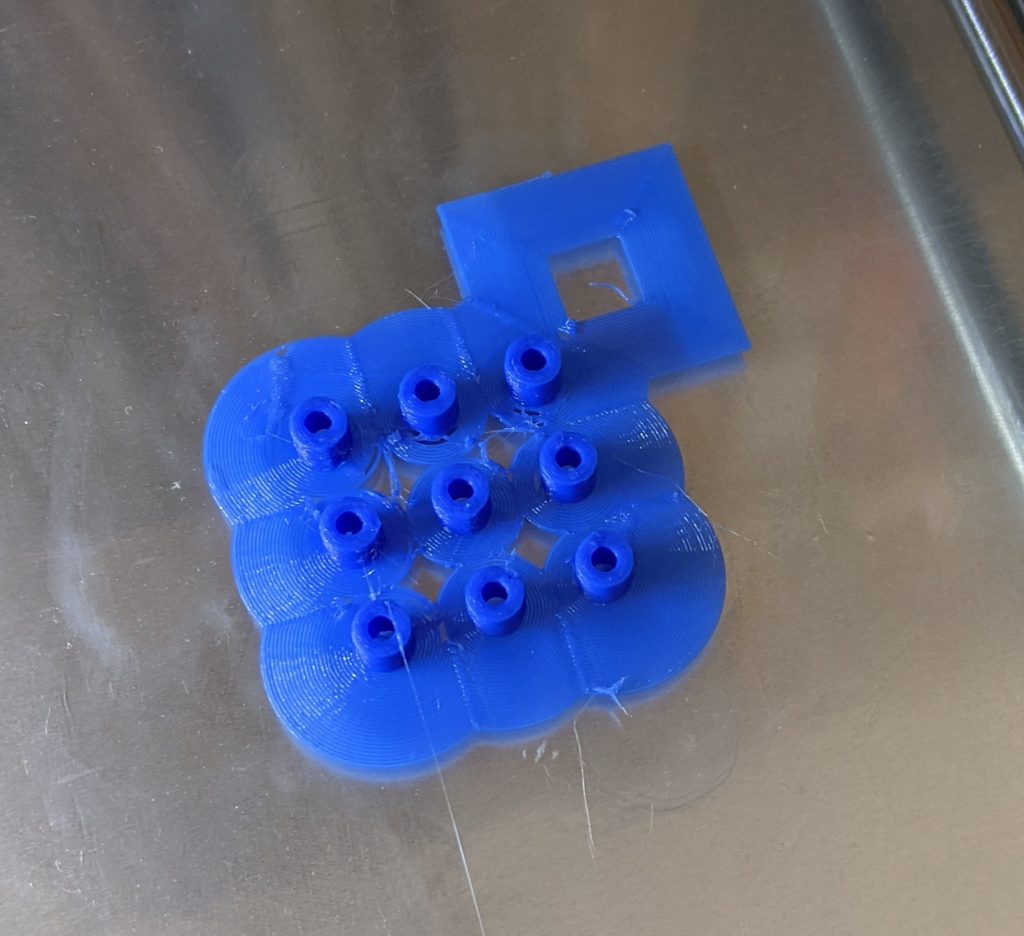
組み立ての途中の様子。組み立ててみたら回転の動きが少し怪しい。ベアリングの精度の問題か?この上に、Tilt制御用のサーボを搭載する予定。
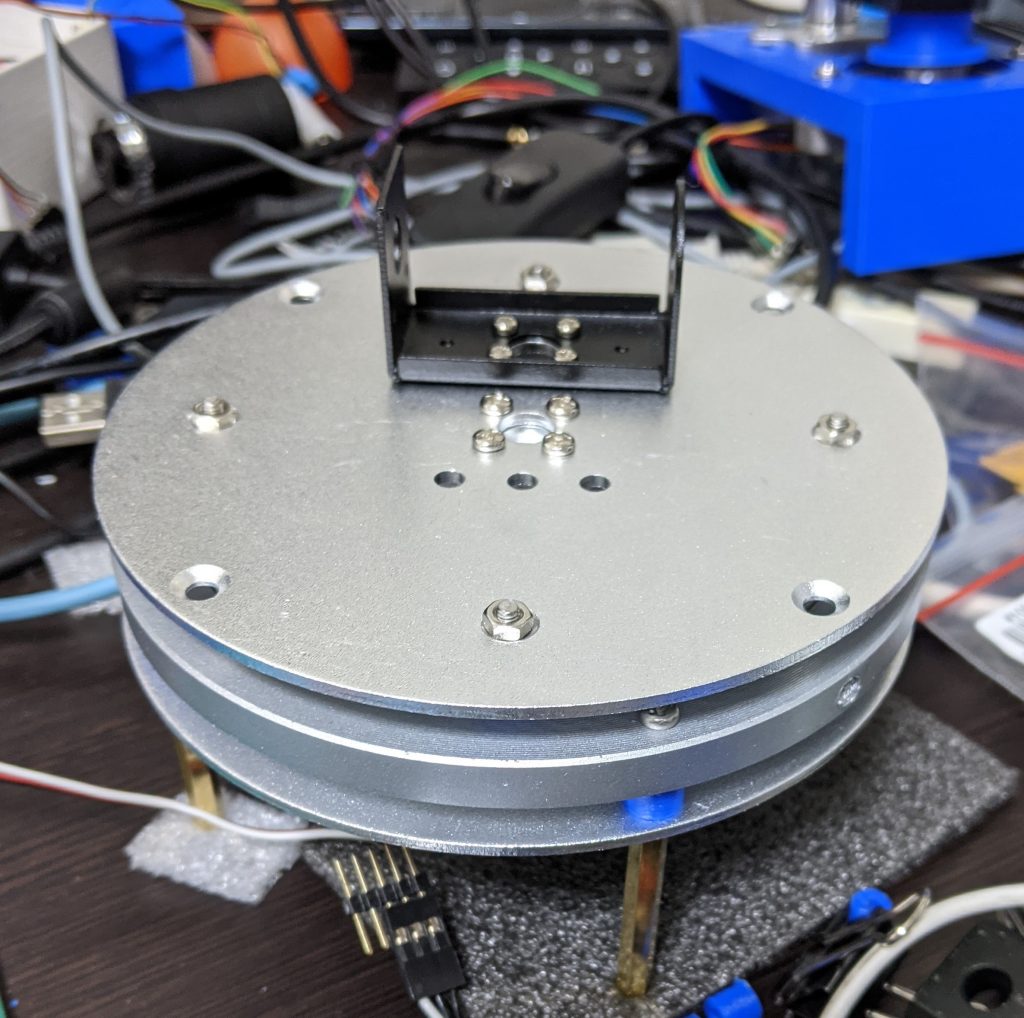
Pan/Tiltの台座を購入してみました。ネジが曲がっていたり数が合わないのは想定内?パーツの不具合を補うため、3Dプリンターでパーツを作る。


組み立ての途中の様子。組み立ててみたら回転の動きが少し怪しい。ベアリングの精度の問題か?この上に、Tilt制御用のサーボを搭載する予定。

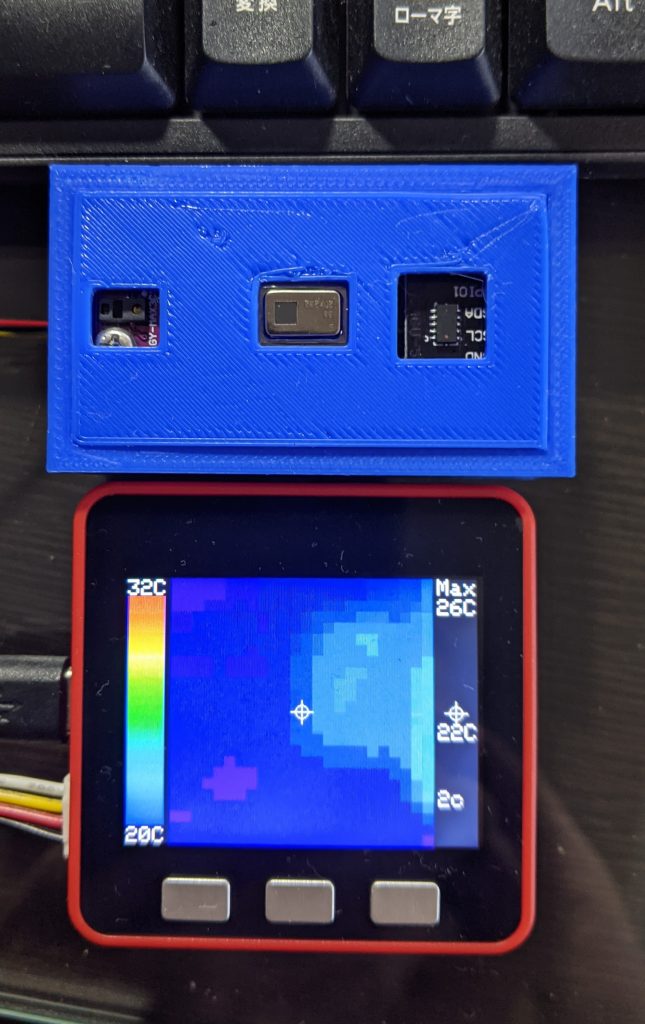
AMG8833を利用してサーモイメージャーを作ってみる。
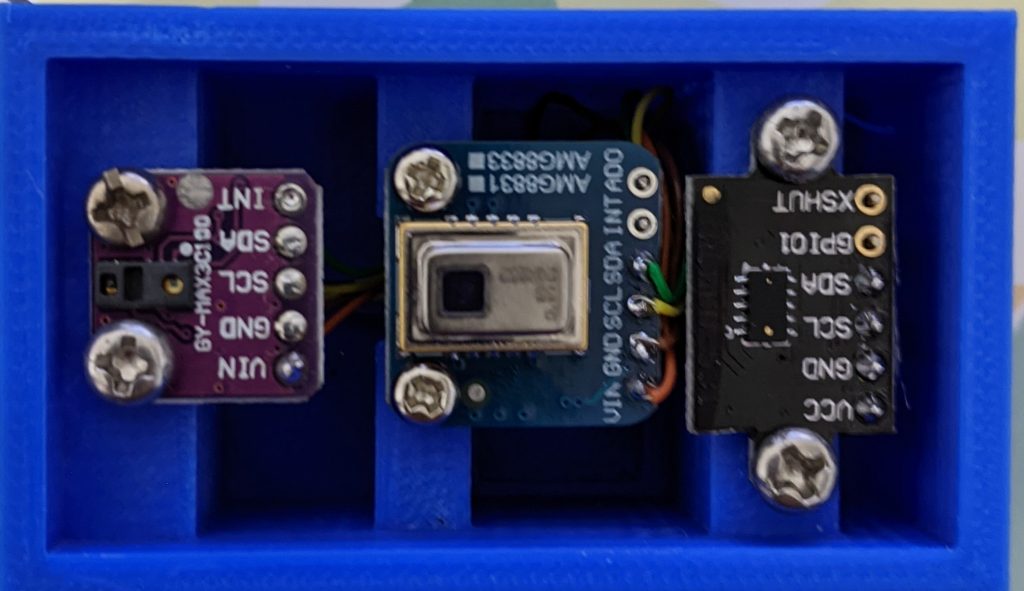
左からDiymore MAX30102 心拍数センサーモジュール、8x8サーモイメージャー(AMG8833)、VL53L0X (ToF) レーザー測距センサ
センサーサイズ8×8の情報をbicubic補間でなめらかに表示。
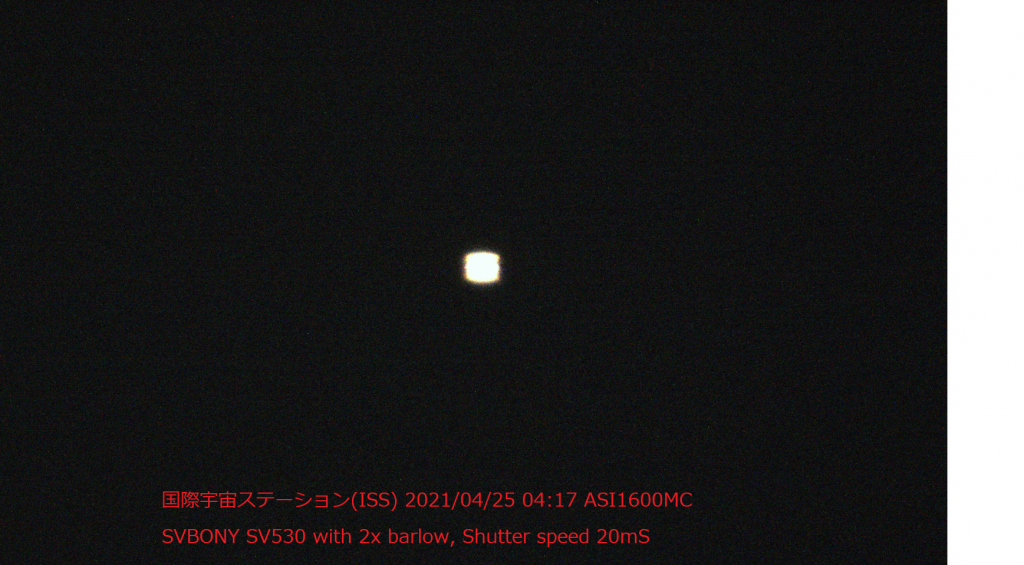
前回は露光時間1秒で撮影し、画像が長く流れたので今回は20mSで撮影してみたが、まだ画像が流れていて露光時間の長すぎるようだ。次回は1mSを試してみよう。
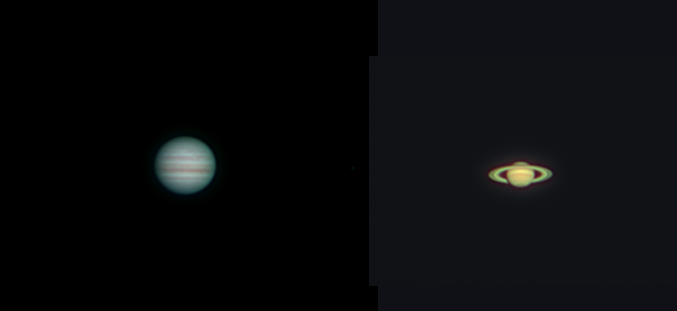
木星と土星が見えていたので、撮影してみた。約1000枚を撮影した後に、Regstaxというフリーソフトを利用して位置合わせをしながらスタックし、特徴抽出のためにWavelet変換処理を実行します。よくみると土星の輪の中に、カッシーニの間隙と呼ばれる隙間も写っている。惑星の撮影には、もう少し高倍率が必要かも;

ToF(Time of Flight)デバイスVL530Xを利用して、超近接レーダもどきを作ってみた。
主要なパーツ
VL53L0X Time-of-Flight 距離センサモジュールの概要は、例えばこちらのページを参照。
arduino nanoでステッピングモータを回転させながら、ToFデバイスで光を反射する物体までの距離を測定します。モータの回転角度と距離をUSB I/FでPCへ転送し、PC側でPython(Jupyter notebook)で可視化しています。
Jupyter notebookで可視化した様子。
Jupyter notebookで可視化
# -*- coding: utf-8 -*-
import sys
import  glob

import serial
import asyncio, sys
import cv2
import numpy as np
import pygame
import math
from pygame.locals import *

def main():
    hist=350
    buf={}
    (x,y) = (1024,1024)   # 画面サイズ

    pygame.init()       # pygame初期化
    pygame.display.set_mode((x, y), 0, 32)  # 画面設定
    pygame.display.set_caption('ToF VL53L0X ranging...')
    screen = pygame.display.get_surface()
    fontFace =cv2.FONT_HERSHEY_SIMPLEX
    dev=glob.glob("/dev/ttyUSB*")[0]
    dev=dev.replace('[','')
    dev=dev.replace(']','')
    ser =serial.Serial(dev, 115200)

    for i in range(5):
        line=ser.readline()

    font = pygame.font.Font(None, 55)
    #print(buf)
    while (1):
        for i in range(1,3):
            try:
                deg,distance=ser.readline().decode().split(',')
                deg=int(deg)
                distance=int(distance)
                buf[deg]=distance
                # ゴミデータ対策
                for k in range(4):
                    tmp=deg-k
                    if  tmp<0:
                        tmp=tmp+360
                    buf[deg-k]=distance
            except:
                continue


        # レーダー画面の背景描画
        pygame.draw.circle(screen, (0, 200, 0), (int(x/2), int(y/2)), int(x/2), 1)
        pygame.draw.circle(screen, (0, 200, 0), (int(x/2), int(y/2)), int(x/4), 1)
        pygame.draw.line(screen, (0, 200, 0), (0, int(y/2)), (x, int(y/2)))
        pygame.draw.line(screen, (0, 200, 0), (int(x/2), 0), (int(x/2), y))
        # レーダービームの軌跡描画
        dx = x/2 + x/2 * math.cos(math.radians(deg))
        dy = y/2 + x/2 * math.sin(math.radians(deg))
        pygame.draw.line(screen, (0, 255, 0), (int(x/2), int(y/2)), (int(dx), int(dy)))
        for k in range(hist):
            tmp = deg-k
            if tmp<0:
                tmp=tmp+360
            if tmp in buf:
                x0 = x/2 + buf[tmp]*0.8*math.cos(math.radians(tmp))
                y0=  y/2 + buf[tmp]*0.8*math.sin(math.radians(tmp))
                blip=int(255*(hist-k)/hist)
                pygame.draw.line(screen, (blip, 0, 0), (int(x/2), int(y/2)), (int(x0), int(y0)))
                pygame.draw.circle(screen, (blip, 0, 0), (int(x0), int(y0)), 4, 2)

        pygame.display.update()     # 画面更新
        pygame.time.wait(10)        # 更新時間間隔
        screen.fill((0, 20, 0, 0))  # 画面の背景色

        # イベント
        for event in pygame.event.get():
            if event.type == QUIT:      # 閉じるボタンが押されたら終了
                pygame.quit()           # Pygameの終了(画面閉じられる)
                ser.close()
                sys.exit()

if __name__ == "__main__":
        main()
Arduinoで(ステッピングモータと距離センサーの制御)
#include <vl53l0xTOFA.h>
#include <Wire.h>

#include <Stepper.h>
//#define PIN_xDIR   D3 //direction
//#define PIN_xSTEP  D4 //step
#define PIN_xDIR   PD3 //direction
#define PIN_xSTEP  PD2 //step
#define PIN_MODE   A1 // MODE
//#define LED       A2
#define ST        4
VL53L0xTOFA sensor;

// for your motor
int val = 0;
// initialize the stepper library on pins 8 through 11:
//Stepper myStepper(stepsPerRevolution, D4, D3);

float dist_TOF(int pos, int n) {
  float sum = 0;
  for ( int j = 0; j < n; j++) {
    sensor.readTOFA();
    sum += sensor.tofa.distancemm;
  }
  int distance = int(sum / n);
  int deg = int(pos *  36.0 / 40.0);
  //  Serial.print(pos);
  //  Serial.print(',');
  Serial.print(deg);
  Serial.print(',');
  Serial.println(distance);
}

void setup() {
  pinMode(PIN_xDIR, OUTPUT);
  pinMode(PIN_xSTEP, OUTPUT);
  //  pinMode(LED, OUTPUT);
  pinMode(PIN_MODE, INPUT_PULLUP);
  // set the speed at 60 rpm:
  //  myStepper.setSpeed(60);
  // initialize the serial port:
  Serial.begin(115200);
  delay(1000);
  Wire.begin();
  delay(1000);

  sensor.setTimeout(500);
  if (!sensor.init())
  {
    Serial.println("Failed to detect and initialize sensor!");
    while (1) {}
  }

  sensor.startContinuous(5);

  Serial.println("Radar Start");
}

void rot(int dir, int n) {
  for (int i = 0; i < n; i++) {
    for (int j = 0; j < 2 * ST; j++) {
      digitalWrite(PIN_xSTEP, !(digitalRead(PIN_xSTEP)));
      delayMicroseconds(800);
    }
    dist_TOF(i, 1);
    delayMicroseconds(800);
  }
}

void loop() {
  if (digitalRead(PIN_MODE) == LOW) {
    digitalWrite(PIN_xDIR, LOW);
    rot(1, 400);
  } else {
    digitalWrite(PIN_xDIR, HIGH);
    rot(0, 400);
  }
}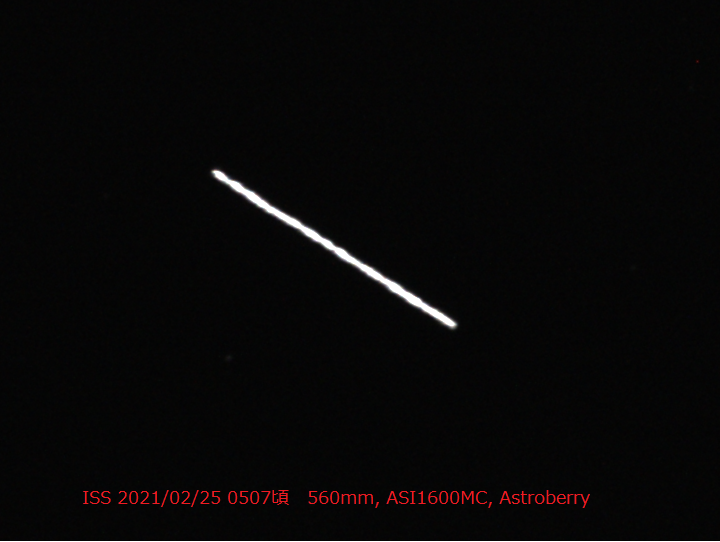
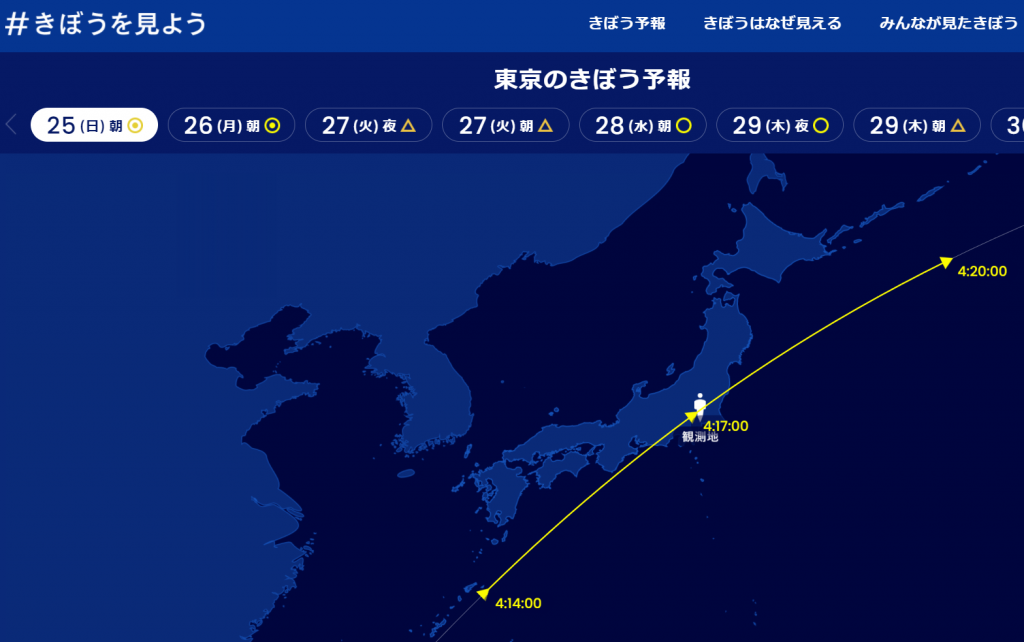
国際宇宙ステーション(ISS)は、日本、米国、ロシア、カナダ、欧州の15カ国が協力して建設した、地上約400km上空にある人類史上最大の有人実験施設。その大きさは約108.5m×72.8mとほぼサッカー場ほどの大きさとなり、質量は約420トンにもなる。