久々に稲妻の撮影に成功
コメントを残す


少しだけ機影を確認できた。

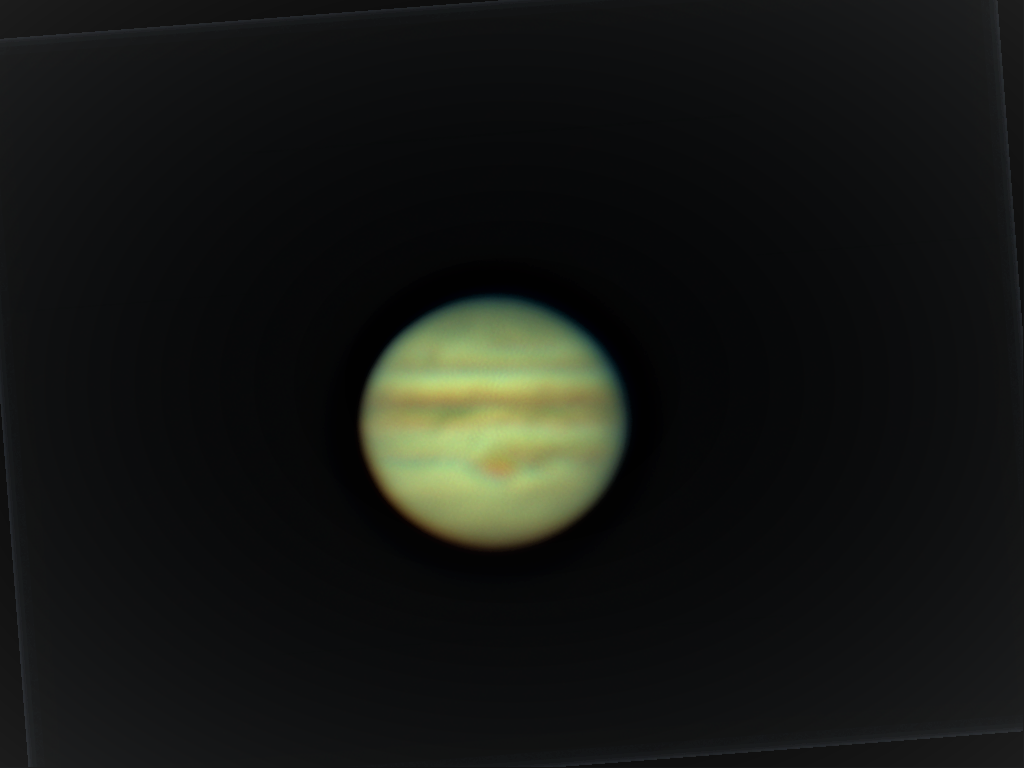
撮影準備の間に撮影した木星と土星


Webスクレイピング超入門】2時間で基礎を完全マスター!PythonによるWebスクレイピング入門 連結版
https://www.youtube.com/watch?v=VRFfAeW30qE
【初学者必見】Pythonで実データの需要予測を実装したい人がはじめに見る動画
https://www.youtube.com/watch?v=uKq_dgEUVfA&list=RDCMUC0xRMqPOyRNPTaL6BxhbCnQ&index=11
Python×自動化】PyAutoGUIを用いてPC操作の自動化方法を40分でわかりやすく解説!
https://www.youtube.com/watch?v=zmrbS98KXyo&list=RDCMUC0xRMqPOyRNPTaL6BxhbCnQ&index=10
今話題のPythonライブラリStreamlitを用いて、顔検出アプリの作成から公開までの流れをわかりやすく解説
https://www.youtube.com/watch?v=zpBjbK6jic0
インストール手順の参照元:ラズパイでKubernetesクラスタを構築する
インストール先の環境
次の手順でkubelet kubeadm kubectlをインストール
$ sudo -s
# curl -s https://packages.cloud.google.com/apt/doc/apt-key.gpg | apt    -key add -
OK
# cat <<EOF >/etc/apt/sources.list.d/kubernetes.list
> deb https://apt.kubernetes.io/ kubernetes-xenial main
> EOF
# apt-get update
# apt-get install -y kubelet kubeadm kubectl
#  kubeadm version -o yaml
clientVersion:
  buildDate: "2021-06-16T12:57:56Z"
  compiler: gc
  gitCommit: 092fbfbf53427de67cac1e9fa54aaa09a28371d7
  gitTreeState: clean
  gitVersion: v1.21.2
  goVersion: go1.16.5
  major: "1"
  minor: "21"
  platform: linux/arm64
#  cat /proc/sys/net/bridge/bridge-nf-call-iptables
1
$ kubeadm version
kubeadm version: &version.Info{Major:"1", Minor:"21", GitVersion:"v1.21.2", GitC    ommit:"092fbfbf53427de67cac1e9fa54aaa09a28371d7", GitTreeState:"clean", BuildDat    e:"2021-06-16T12:57:56Z", GoVersion:"go1.16.5", Compiler:"gc", Platform:"linux/a    rm64"}
# swapoff -a
# kubeadm init --pod-network-cidr=10.244.0.0/16
[init] Using Kubernetes version: v1.21.2
{中略}
Your Kubernetes control-plane has initialized successfully!

To start using your cluster, you need to run the following as a regular user:

  mkdir -p $HOME/.kube
  sudo cp -i /etc/kubernetes/admin.conf $HOME/.kube/config
  sudo chown $(id -u):$(id -g) $HOME/.kube/config

Alternatively, if you are the root user, you can run:

  export KUBECONFIG=/etc/kubernetes/admin.conf

You should now deploy a pod network to the cluster.
Run "kubectl apply -f [podnetwork].yaml" with one of the options listed at:
  https://kubernetes.io/docs/concepts/cluster-administration/addons/

Then you can join any number of worker nodes by running the following on each as root:

kubeadm join 192.168.68.111:6443 --token iuzu6k.j2arujghto188qq1 \
        --discovery-token-ca-cert-hash sha256:bed560334a382d997a48491083e569dbaaac8b1a6d8804c9b917b8596d36b255
$ sudo cp -i /etc/kubernetes/admin.conf $HOME/.kube/config
$ sudo chown $(id -u):$(id -g) $HOME/.kube/config

$  kubectl get node
The connection to the server 127.0.0.1:16443 was refused - did you specify the right host or port?