
(myenv) mars@pi4Bu:~ $ cat weather-influx.py
#coding: utf-8
# encoding: utf-8

import sys
import subprocess
import json
import struct
from influxdb import InfluxDBClient

client = InfluxDBClient(host='XXX.XXX.XXX.XXX', port=8086,
                        username='root', password='XXXXX', database='iot01')
measurement = 'weather-station'
tags = {'place': 'leaf-weather', 'host': 'weather'}

cmd = [
    "rtl_433",
    "-F", "json"
]

process = subprocess.Popen(
    cmd,
    stdout=subprocess.PIPE,
    universal_newlines=True
)

for line in iter(process.stdout.readline, ''):
    if "time" in line:
        data = json.loads(line)
        temp = round((float(data["temperature_F"])-32)/1.8,1)
        humi = data["humidity"]
        wspd = round(float(data["wind_avg_km_h"])/3600,1)
        wdir = data["wind_dir_deg"]
        rain = data["rain_mm"]
    json_body = [
        {
        'measurement': measurement,
        'tags': tags,
        'fields': {'temp': temp, 'humi': humi, 'wdir': wdir, 'wspd':wspd}
        }
    ]
    client.write_points(json_body)
    print(json_body)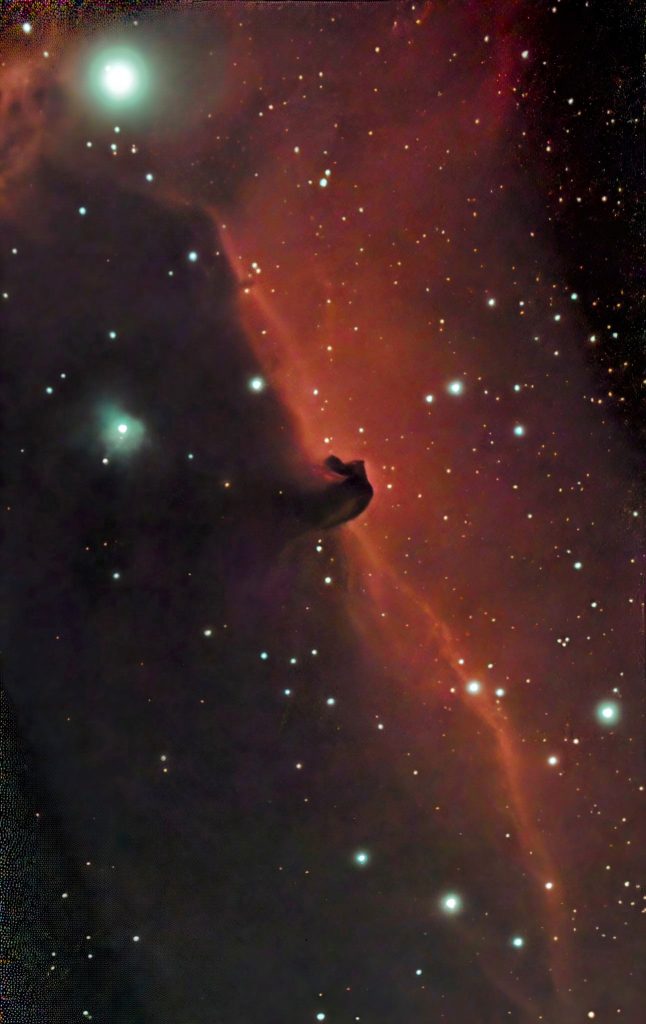

https://gist.github.com/derme302/a702e421b7cd133753e5ab87101a01c4
https://github.com/merbanan/rtl_433/tree/master
データの取得例
$ rtl_433  2>/dev/null
[SDR] Using device 0: Realtek, RTL2838UHIDIR, SN: 00000001, "Generic RTL2832U OEM"
_ _ _ _ _ _ _ _ _ _ _ _ _ _ _ _ _ _ _ _ _ _ _ _ _ _ _ _ _ _ _ _ _ _ _ _ _ _ _ _ _ _ _ _ _ _ _ _ _ _ _ _ _ _ _ _ _ _ _
time      : 2024-11-12 21:58:45
model     : Emax-W6      id        : dd9
Channel   : 4            Battery_OK: 1             Temperature: 59.3 F       Humidity  : 81 %
Wind avg speed: 0.0 km/h Wind Direction: 228       Total rainfall: 0.2 mm    UV Index  : 1             Lux       : 0
Integrity : CHECKSUM
_ _ _ _ _ _ _ _ _ _ _ _ _ _ _ _ _ _ _ _ _ _ _ _ _ _ _ _ _ _ _ _ _ _ _ _ _ _ _ _ _ _ _ _ _ _ _ _ _ _ _ _ _ _ _ _ _ _ _
time      : 2024-11-12 21:59:15
model     : Emax-W6      id        : dd9
Channel   : 4            Battery_OK: 1             Temperature: 59.1 F       Humidity  : 80 %
Wind avg speed: 0.0 km/h Wind Direction: 229       Total rainfall: 0.2 mm    UV Index  : 1             Lux       : 0
Integrity : CHECKSUM
$ rtl_433 2>/dev/null | python t.py
$ cat t.py
#!/usr/bin/python
import sys
for line in sys.stdin:
    #print(line.strip())
    res=line.split()
    if len(res) == 34:
        TT=round((float(res[6])-32)/1.8,1)
        HH=res[10]
        WS=round(float(res[15])/3600,1)
        WD=res[19]
        RR=res[22]
        UV=res[27]
        UL=res[30]
        print(TT,HH,WS,WD,RR,UV,UL)
mars@pi4Bu:~/rtl_433 $ rtl_433 2>/dev/null |python t.py
18.4 69 0.0 229 0.2 1 0
18.4 69 0.0 229 0.2 1 0
18.4 69 0.0 229 0.2 1 0
18.4 69 0.0 229 0.2 1 0
18.5 69 0.0 229 0.2 1 0
18.4 69 0.0 229 0.2 1 0
18.4 69 0.0 229 0.2 1 0
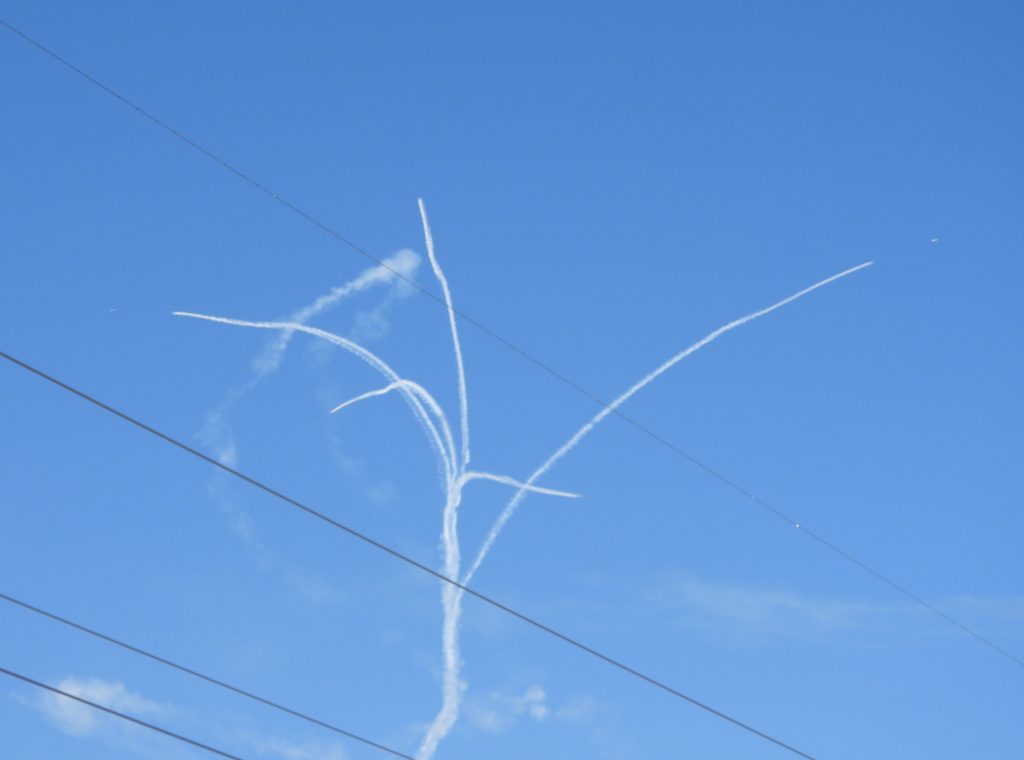
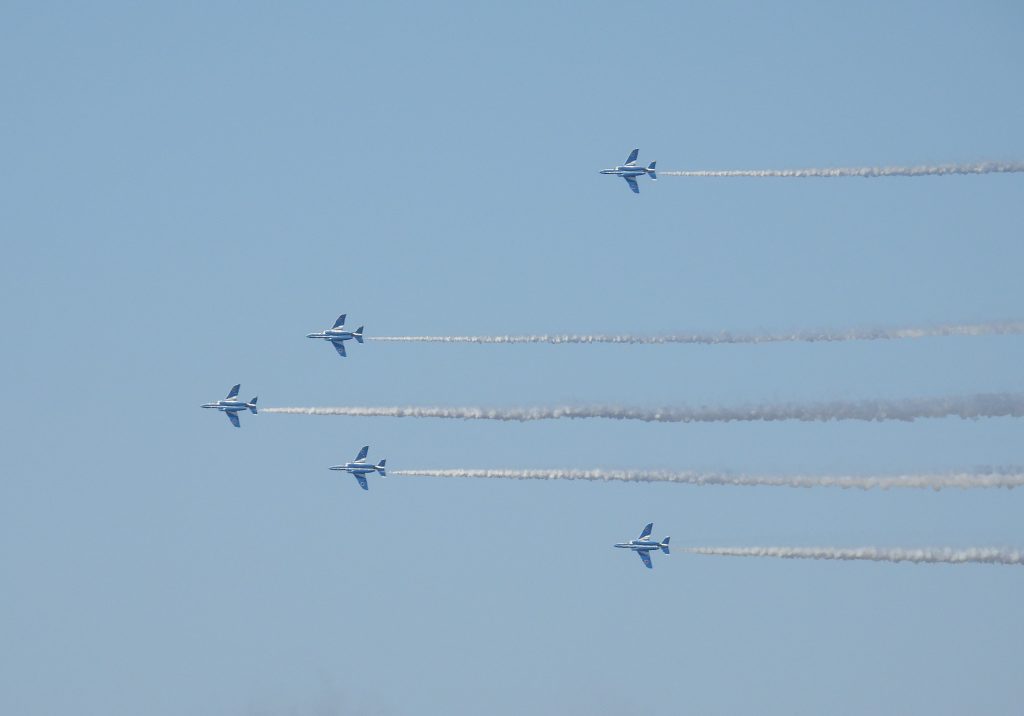
18.4 69 0.0 229 0.2 1 011月3日、青空に恵まれた久々のブルーインパルスの飛行


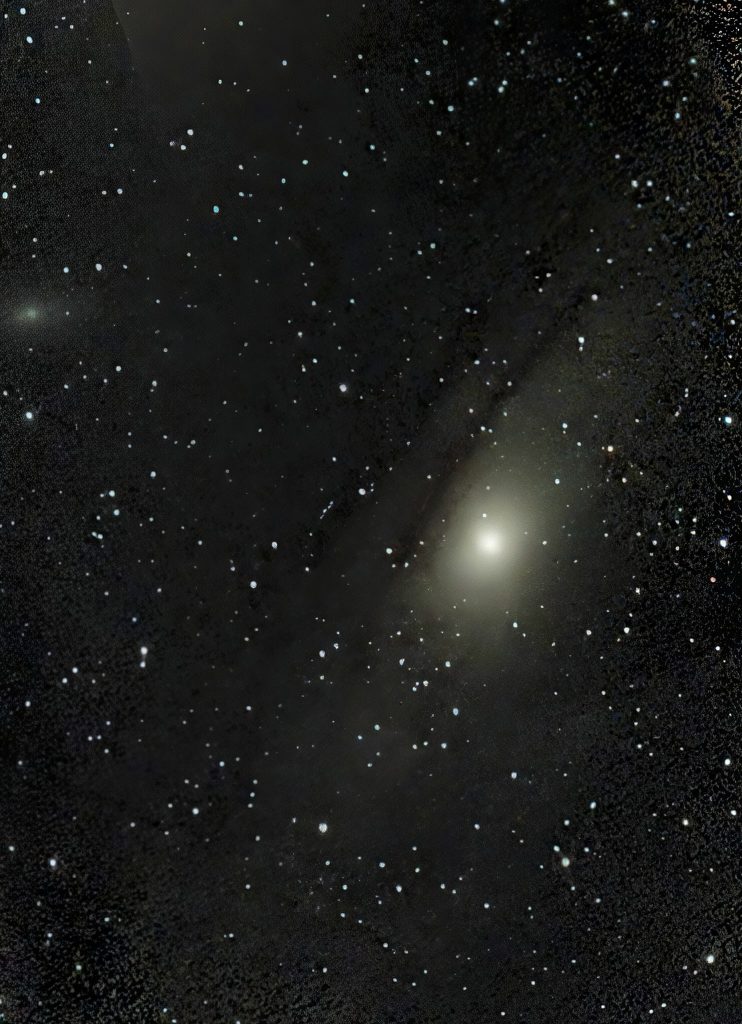
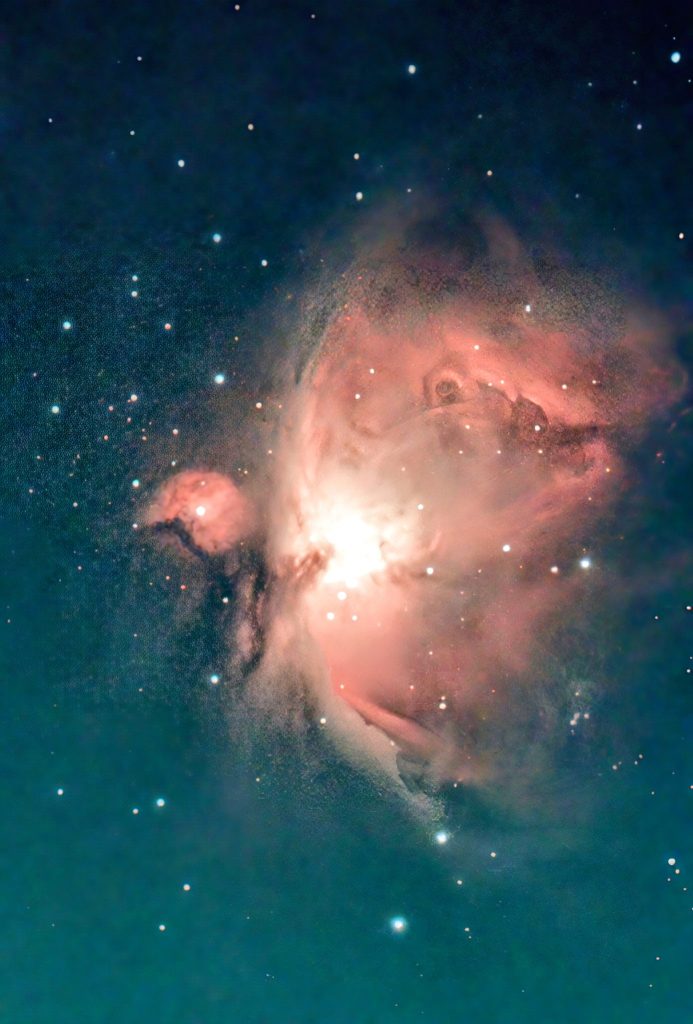
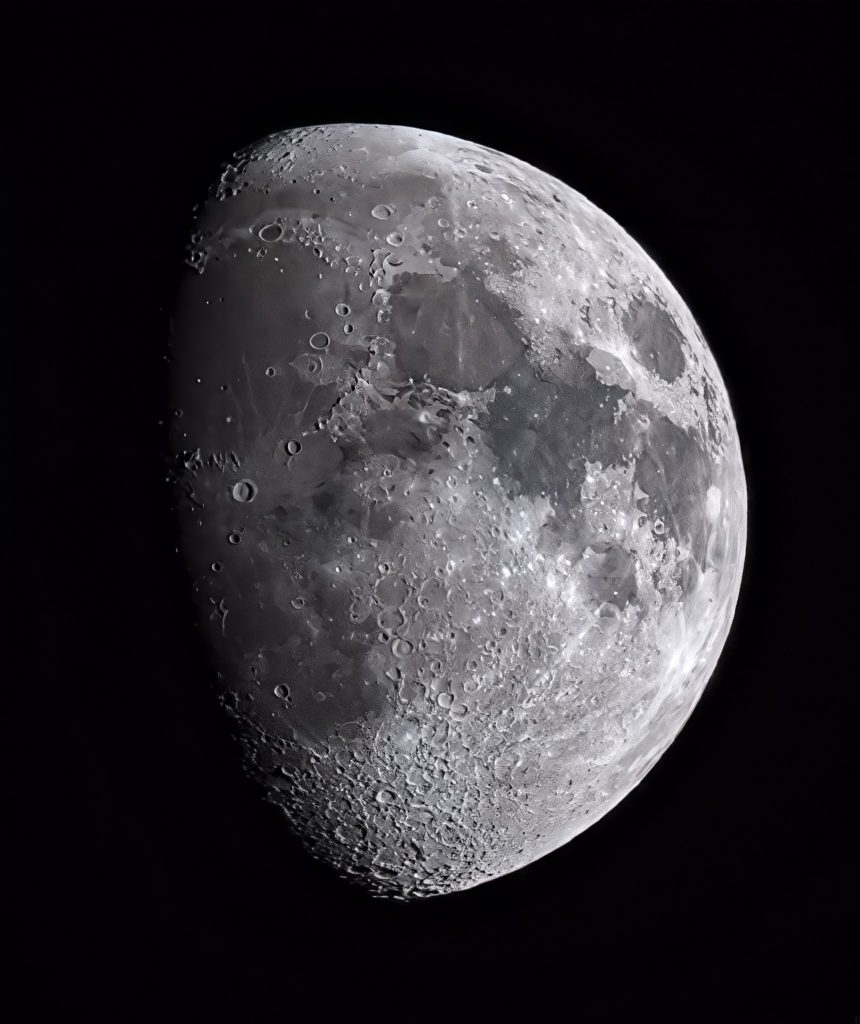
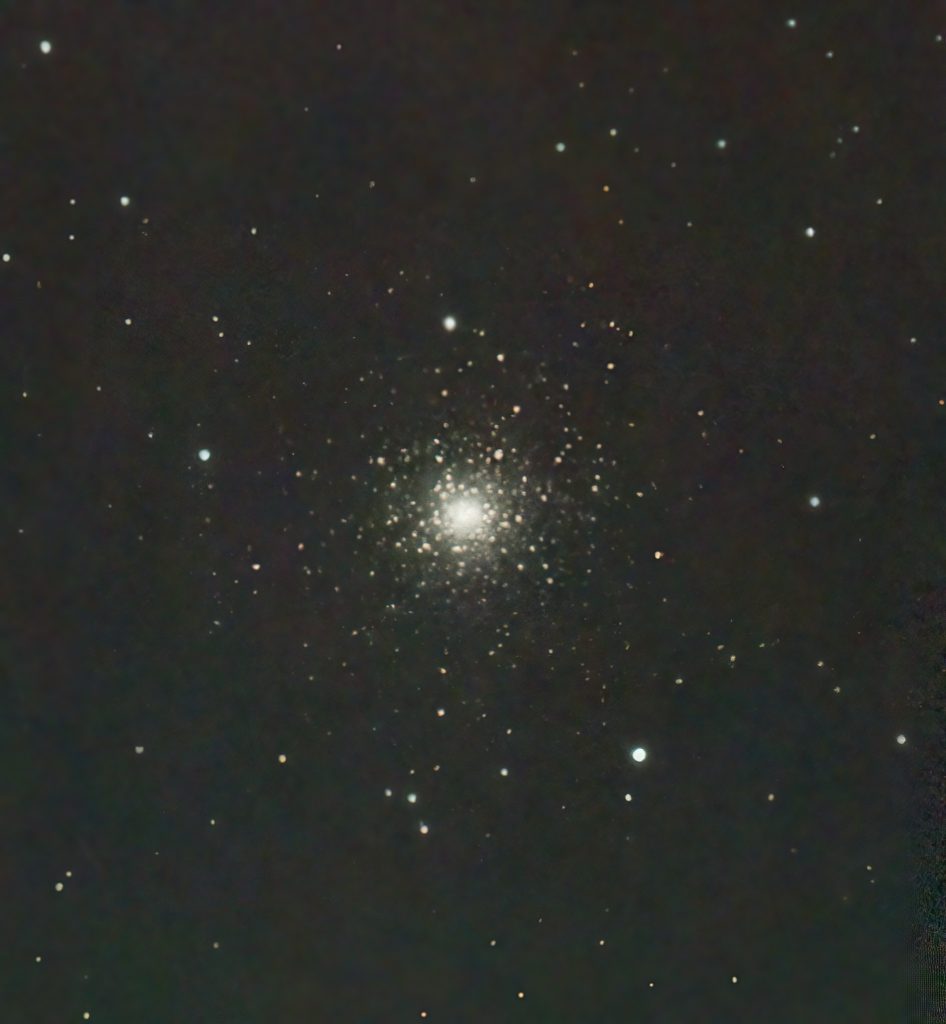
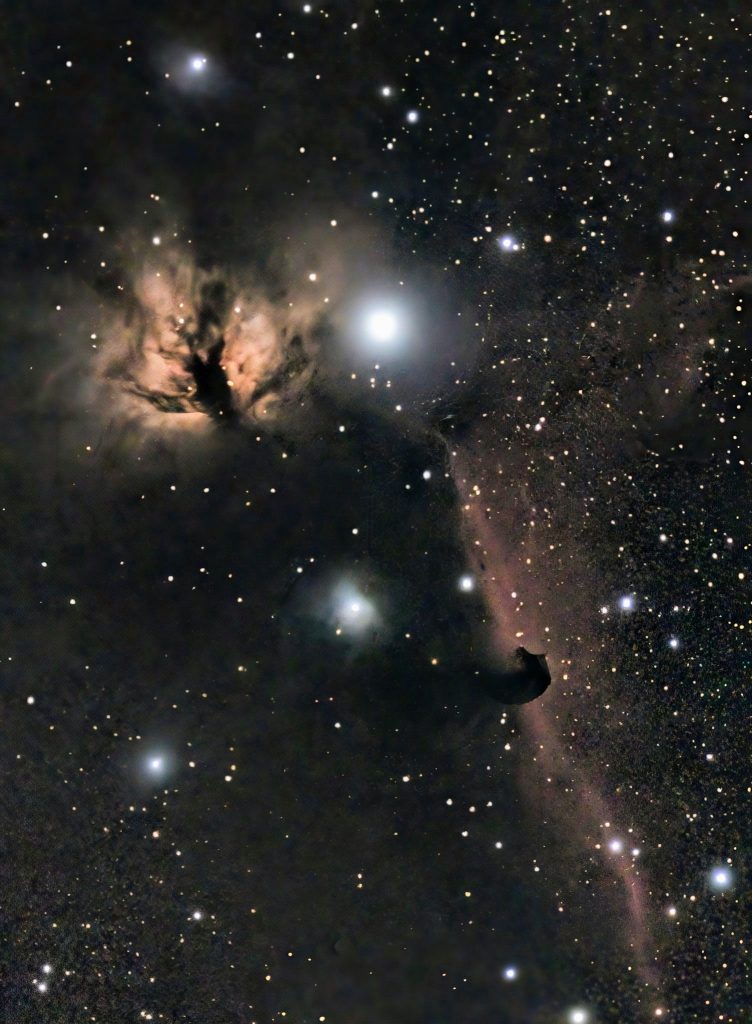
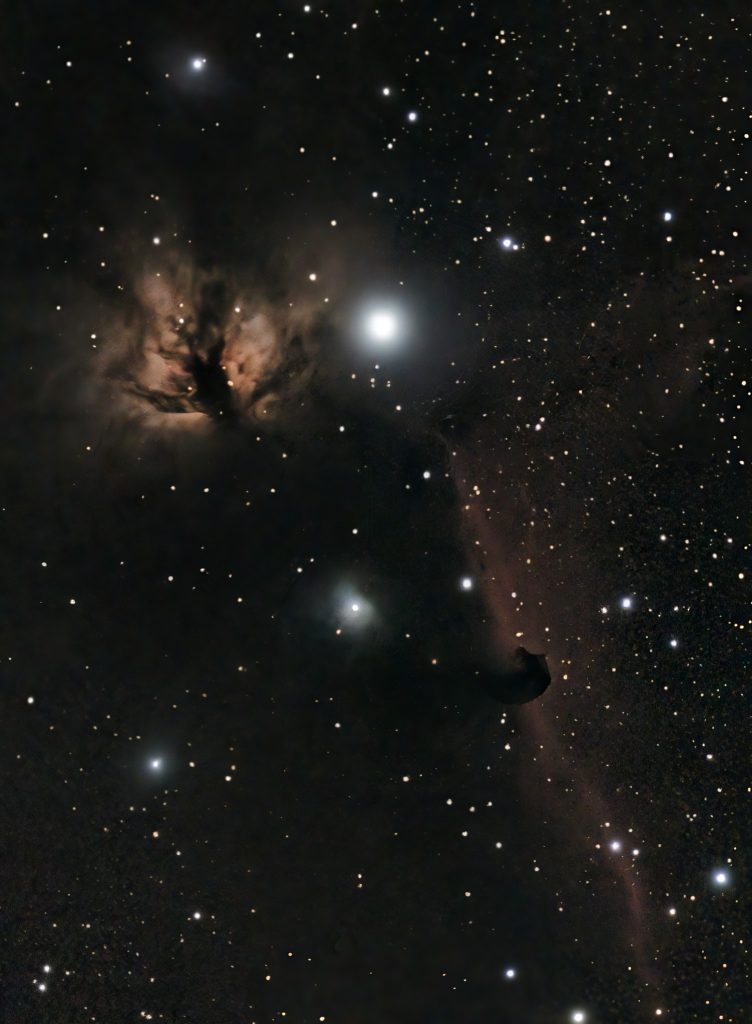
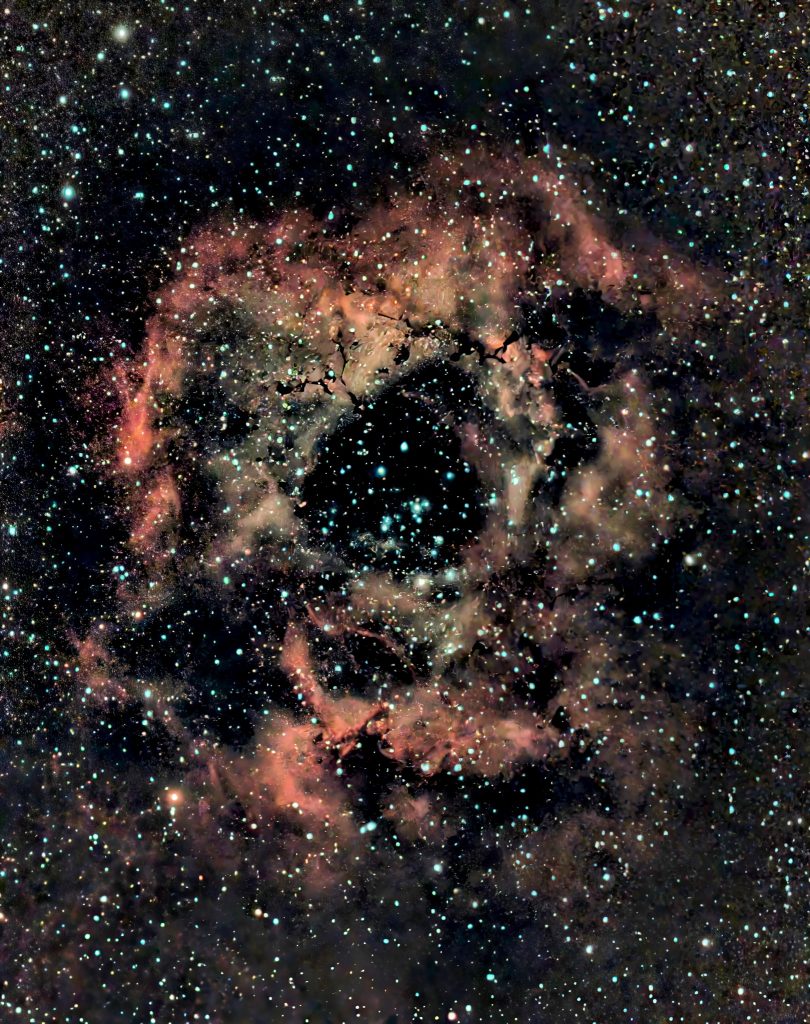
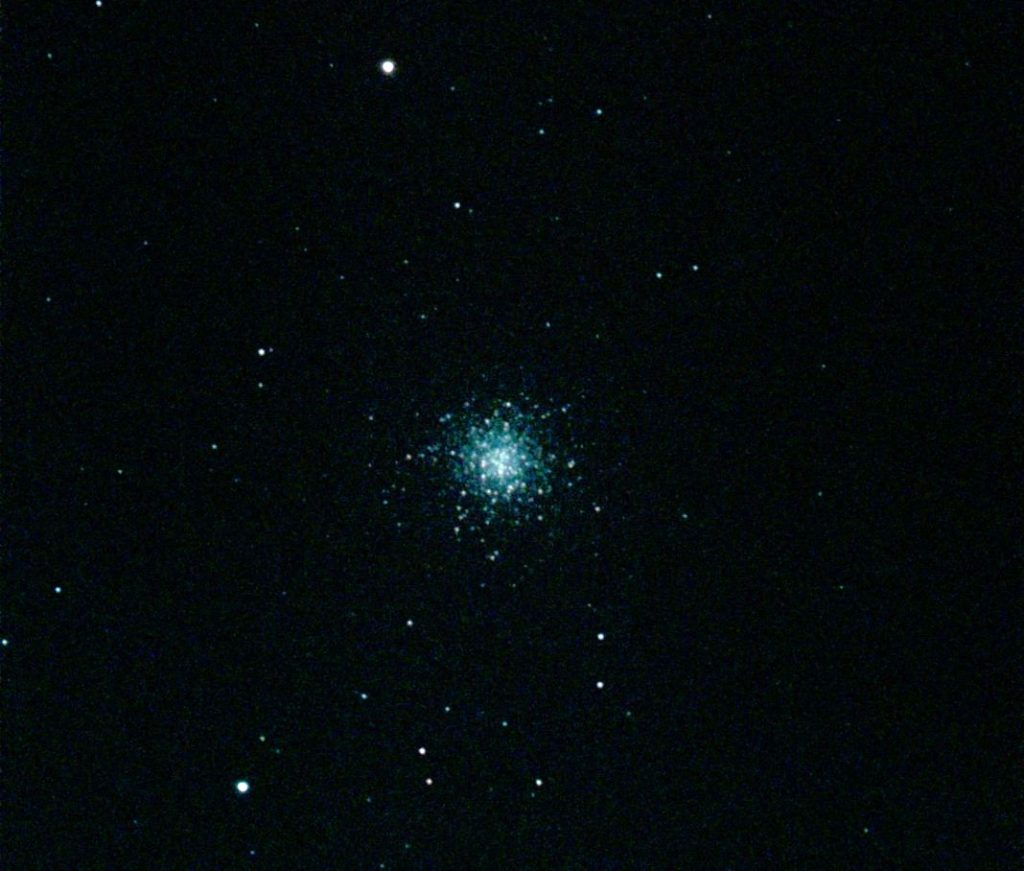
SeeStarへ新たに追加されたモザイクの機能を初めて使ってみた。オリジナルの画角よりも、最大2倍(面積では4倍)の範囲を撮影できる。
sudo apachectl -tsudo apache2ctl configtestsudo apachectl -S # 仮想ホストの設定確認 sudo apachectl -M # 読み込まれているモジュールの確認