月別アーカイブ: 2024年8月

pyenvで仮想環境を作成

python3 -m venv myenv
source myenv/bin/activate
pip install opencv-python

pythonのバージョン指定して仮想環境を作る(python 3.8の例)

1)公式サイトから、pythonをインストール(PATHにチェックを入れて)
2)py -3.8 -m venv myenv38

venv仮想環境を作成

py -3.8 -m venv myenv38

仮想環境の有効化

myenv38\Scripts\activate.bat

python3.8の環境へjupyter notebookをインストール

仮想環境でJupyter Notebook関連パッケージをインストール中、「puccinialin」という存在しないパッケージが要求されて失敗している状態です。これは近年(2025年夏時点)Jupyterやその依存モジュールのインストール時に一部ユーザーで報告されている、新しいバグ・依存関係の不整合です

python -m pip install pywinpty==2.0.10

python -m pip install “notebook==6.5.4”
SeeStarの自動化 SeeStar_alp

SeeStar_alp は、ASCOM Alpacaと組み合わせてSeeStarを自在に制御できる。また、標準のSeeStar APPと同時に併用できる点がすばらしい!

SeeStar_alpはサーバーとして機能し、pythomで記述されたスクリプト群であり、様々なプラットフォームで稼働できる。

https://github.com/smart-underworld/seestar_alp

Installation
Standalone package
Windows/Linux
The easiest way to install and run on Windows is to download a zip file that will allow you to run from one .exe file and everything will come up. If you want to run from source code then you will need to follow the Mac/Source install below.

Download win_seestar_alp.zip or linux_seestar_alp.zip from the lastest release tagged 1.1.0b1PullXXX at: https://github.com/rrowley42/seestar_alp/releases

SeeStar_alpをraspberry Piへインストールする専用のスクリプトが用意されている。

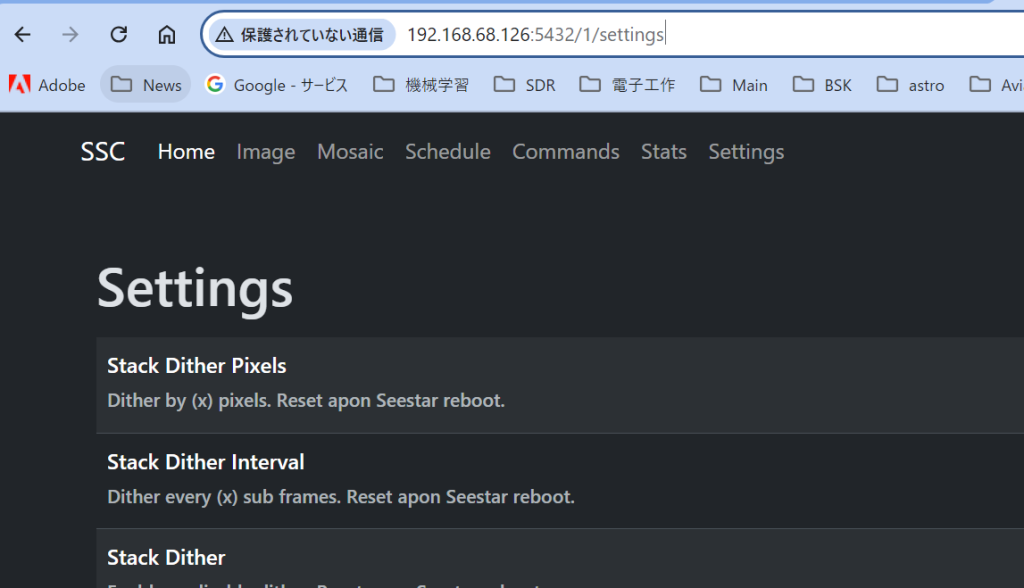
インストールが終わったら、http://SeeStar_alpのアドレス:5432/をブラウザーでアクセス。

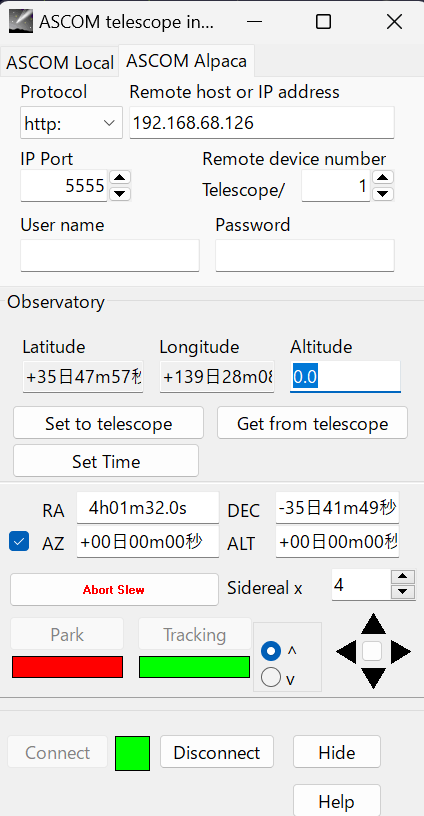
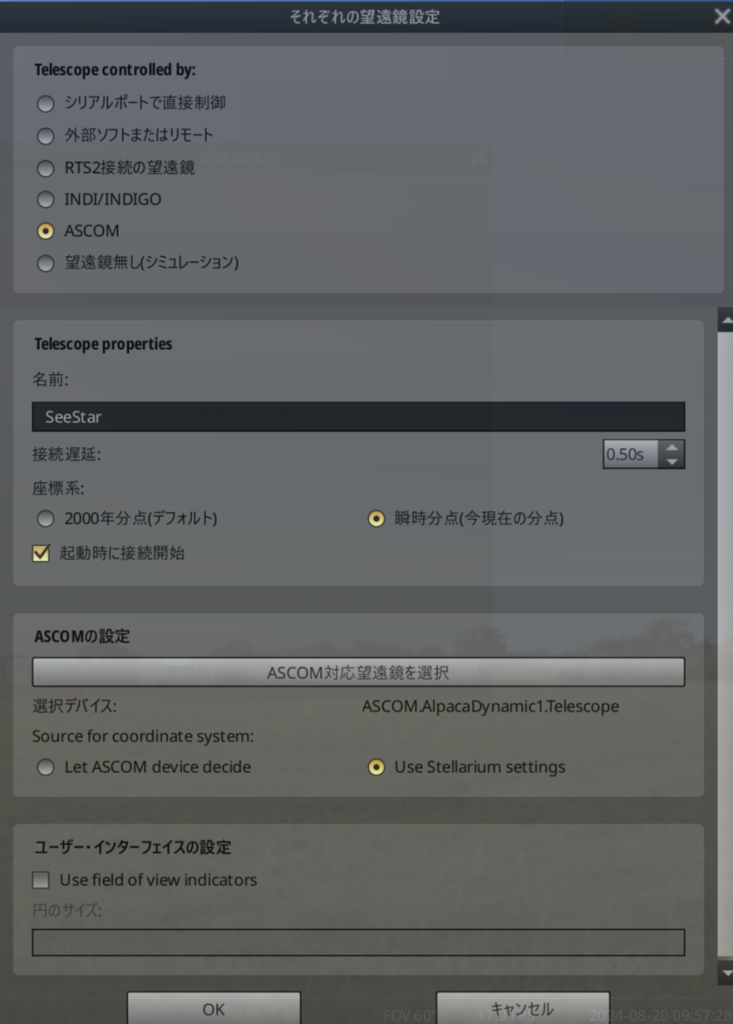
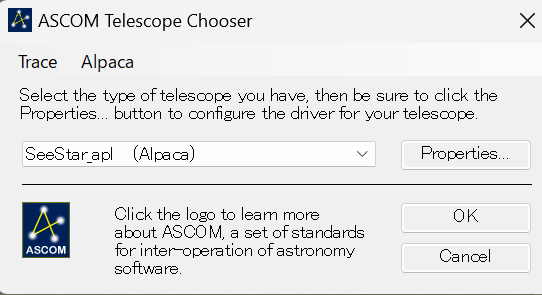
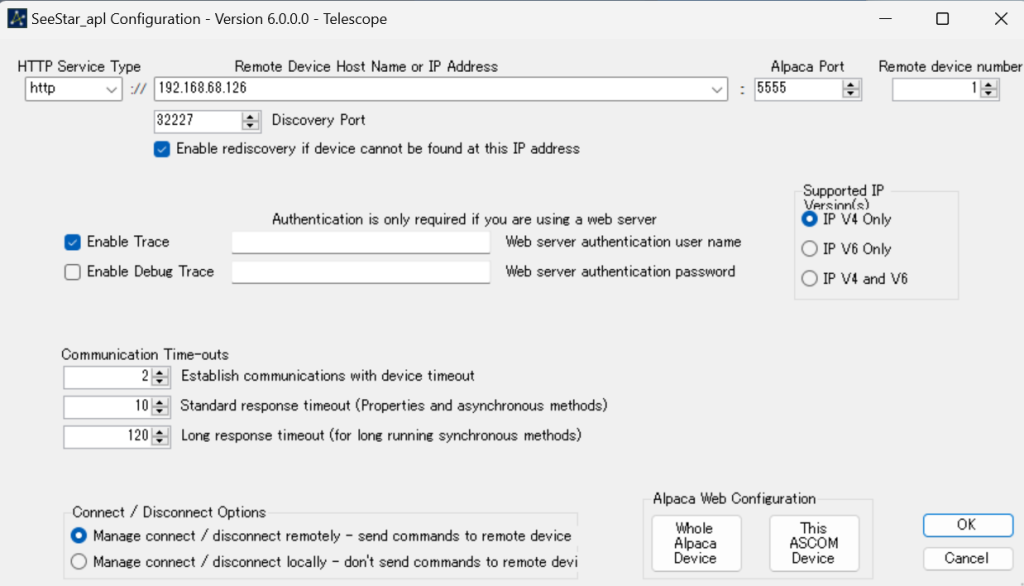
ASCOM Alpacaの一般的な設定手順

Cartes du CielでASCOM Alpaca接続の設定画面

Stellariumの設定

LOCAL LLM ollama

pdfファイルをアップロードしてRAG(Retrieval-Augmented Generation)

参考動画 installの参考

https://www.youtube.com/watch?v=1xdneyn6zjw

Step 1: Install Ollama https://ollama.com/
Step 2: Copy and Paste Llama 3 install command using Terminal
Step 3: Add other LLM models (optional) https://ollama.com/library
Step 4: Install Docker https://www.docker.com/
Step 5: Install OpenWebUI https://docs.openwebui.com/getting-st...
Login to OpenWebUI and start using your local AI chatbot.

ーーーーーーーーーーーーーーーーーーーーーーーーーーーーーー
STEP1:ollamaの実行
C:\Users\ei2k-> ollama.exe run llama3.1

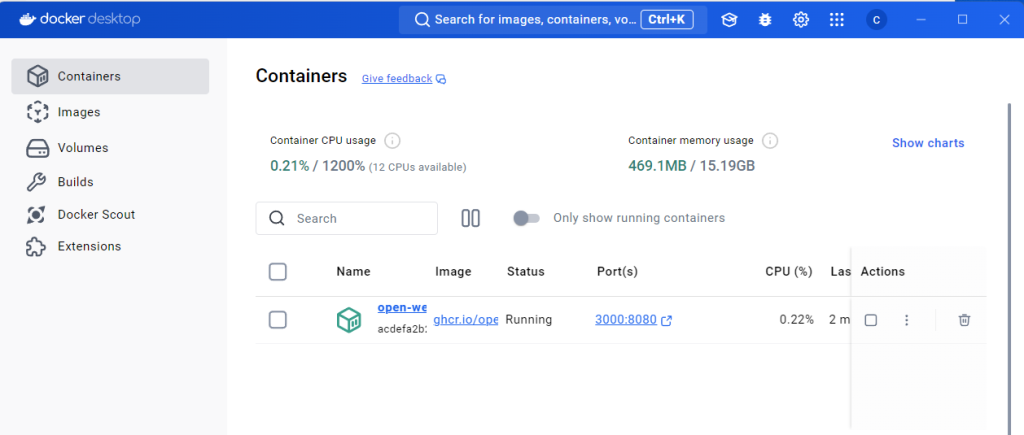
STEP2:docker desktop実行

STEP3:dockerでopen-webuiを実行
C:\Users\ei2k-> docker run -d -p 3000:8080 --add-host=host.docker.internal:host-gateway -v open-webui:/app/backend/data --name open-webui --restart always ghcr.io/open-webui/open-webui:main