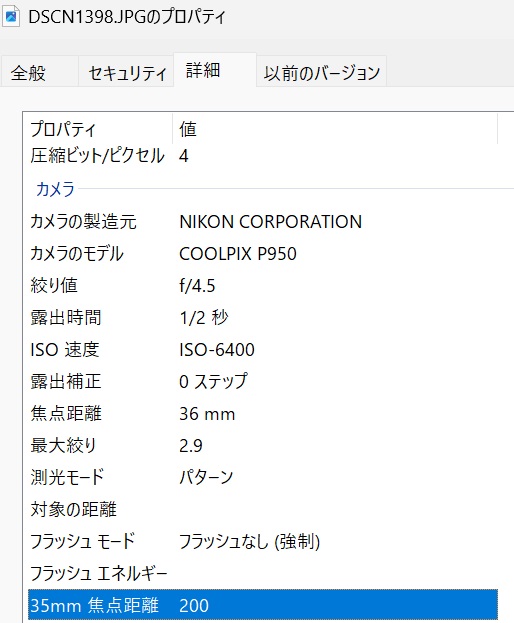
SeeStar 50Sで月と太陽を撮影
コメントを残す
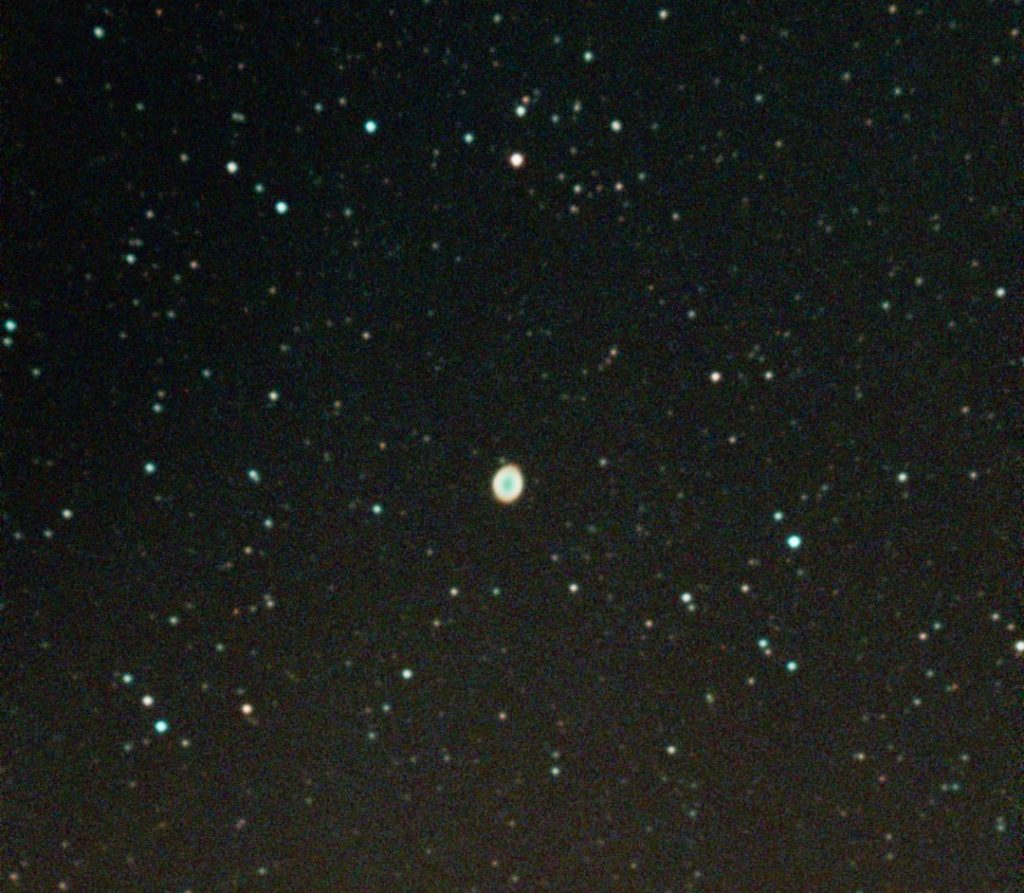
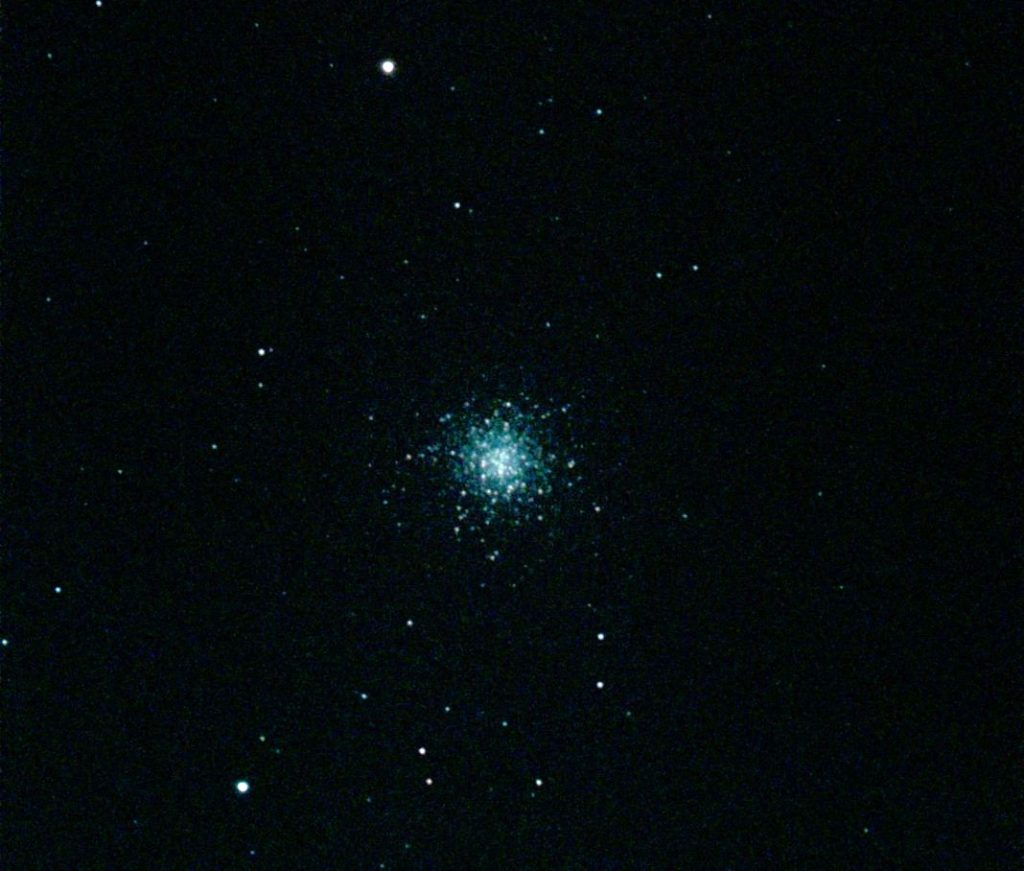
SeeStarへ新たに追加されたモザイクの機能を初めて使ってみた。オリジナルの画角よりも、最大2倍(面積では4倍)の範囲を撮影できる。
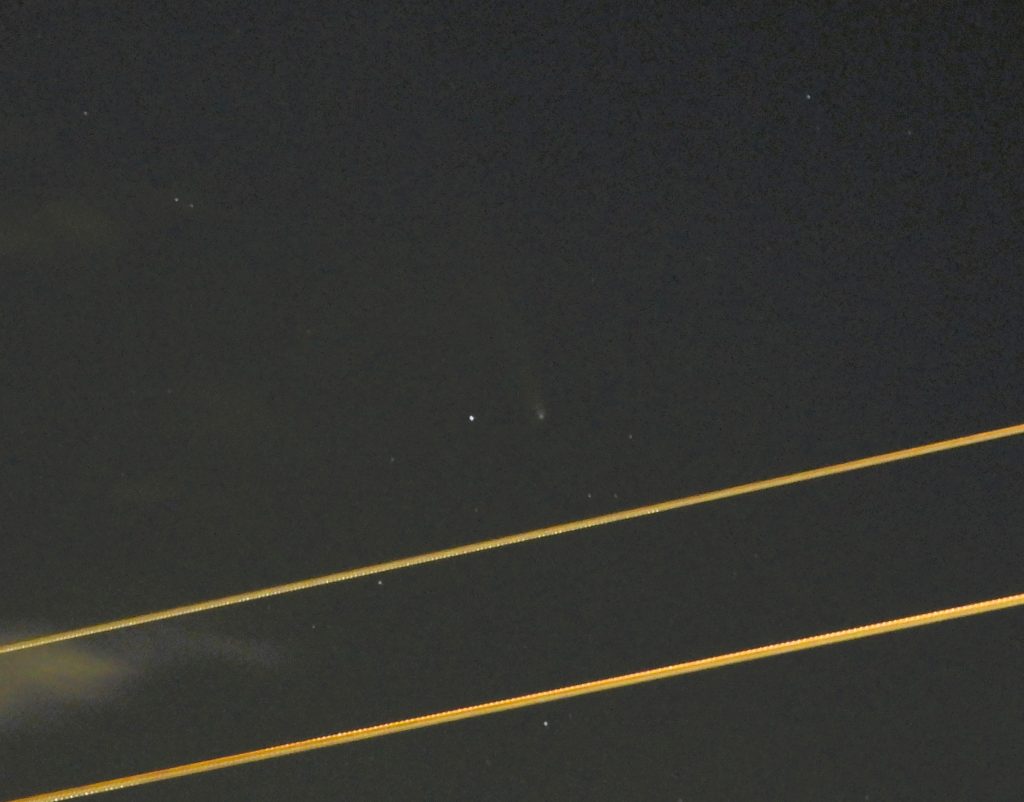
10月23日 黄色っぽい2本の線は、送電線。南西から北方向には、すぐ近くに多数の送電線が走っていて、長時間の露光は困難。
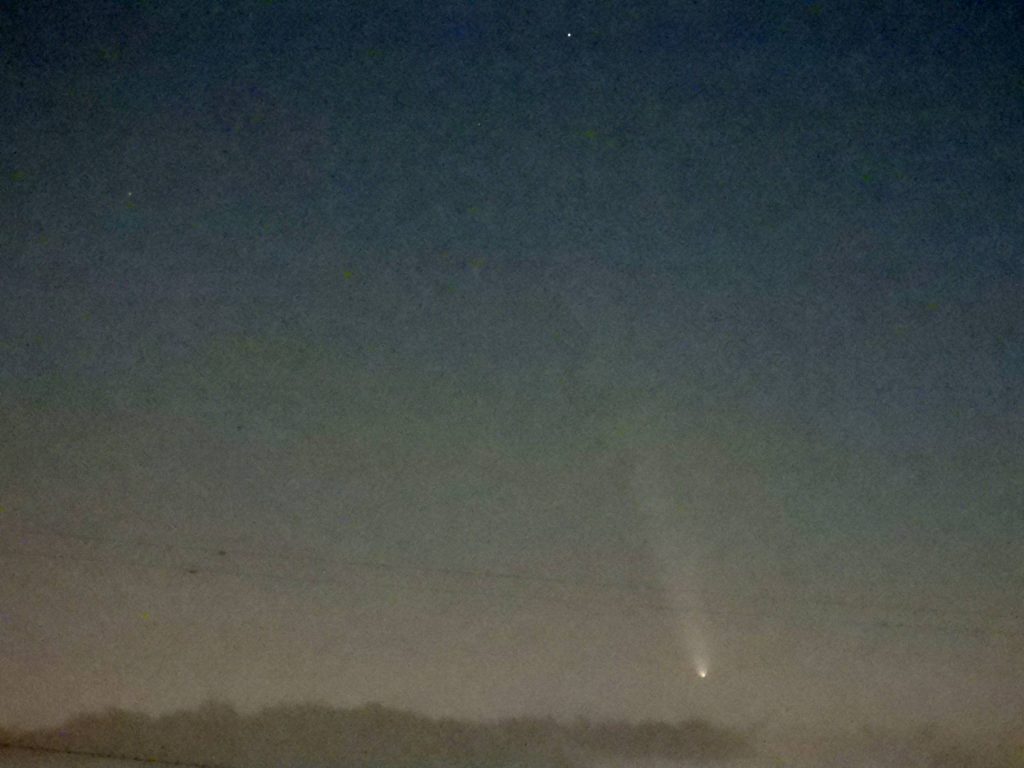
10月13日の西空に長い尾が特徴。双眼鏡でも確認できた。
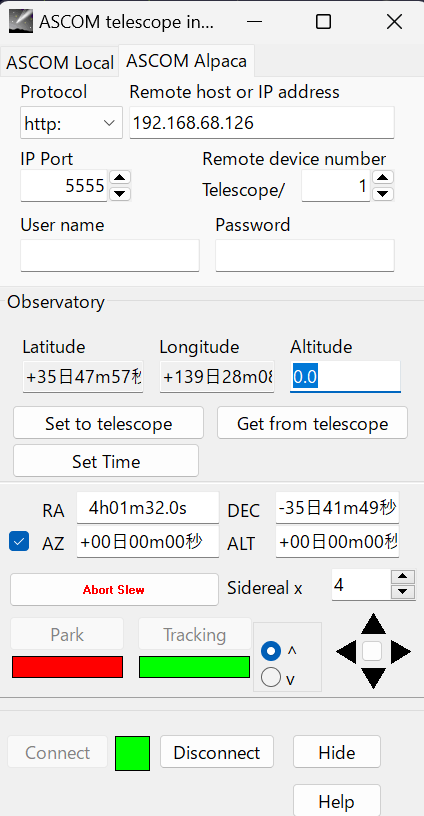
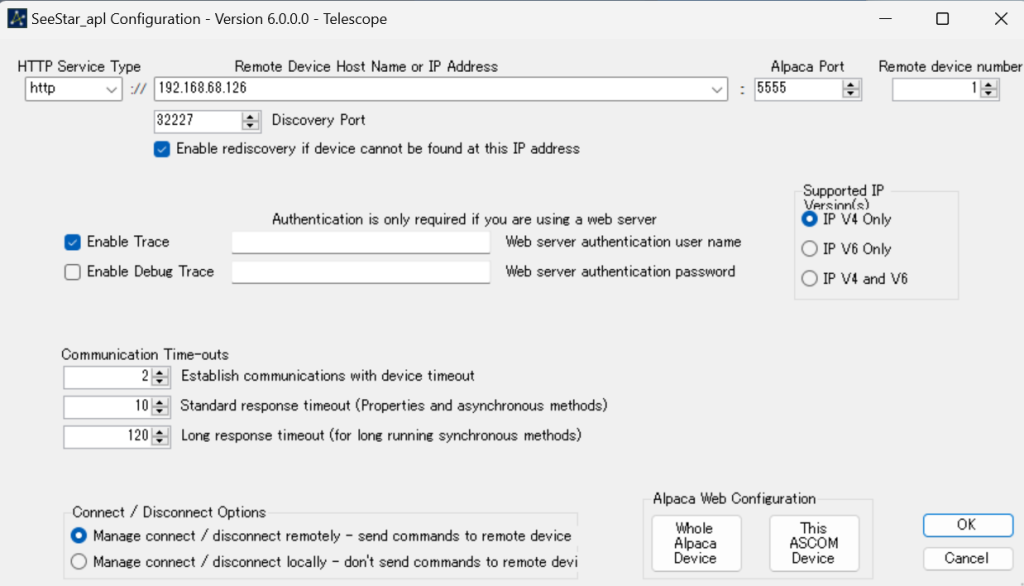
SeeStar_alp は、ASCOM Alpacaと組み合わせてSeeStarを自在に制御できる。また、標準のSeeStar APPと同時に併用できる点がすばらしい!
SeeStar_alpはサーバーとして機能し、pythomで記述されたスクリプト群であり、様々なプラットフォームで稼働できる。
https://github.com/smart-underworld/seestar_alp
Installation
Standalone package
Windows/Linux
The easiest way to install and run on Windows is to download a zip file that will allow you to run from one .exe file and everything will come up. If you want to run from source code then you will need to follow the Mac/Source install below.
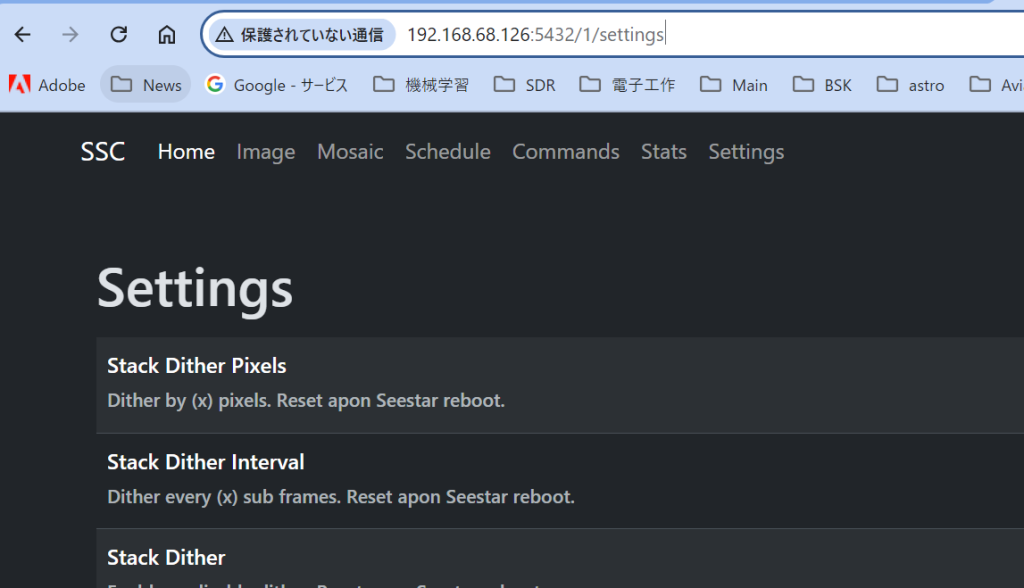
Download win_seestar_alp.zip or linux_seestar_alp.zip from the lastest release tagged 1.1.0b1PullXXX at: https://github.com/rrowley42/seestar_alp/releasesSeeStar_alpをraspberry Piへインストールする専用のスクリプトが用意されている。
インストールが終わったら、http://SeeStar_alpのアドレス:5432/をブラウザーでアクセス。
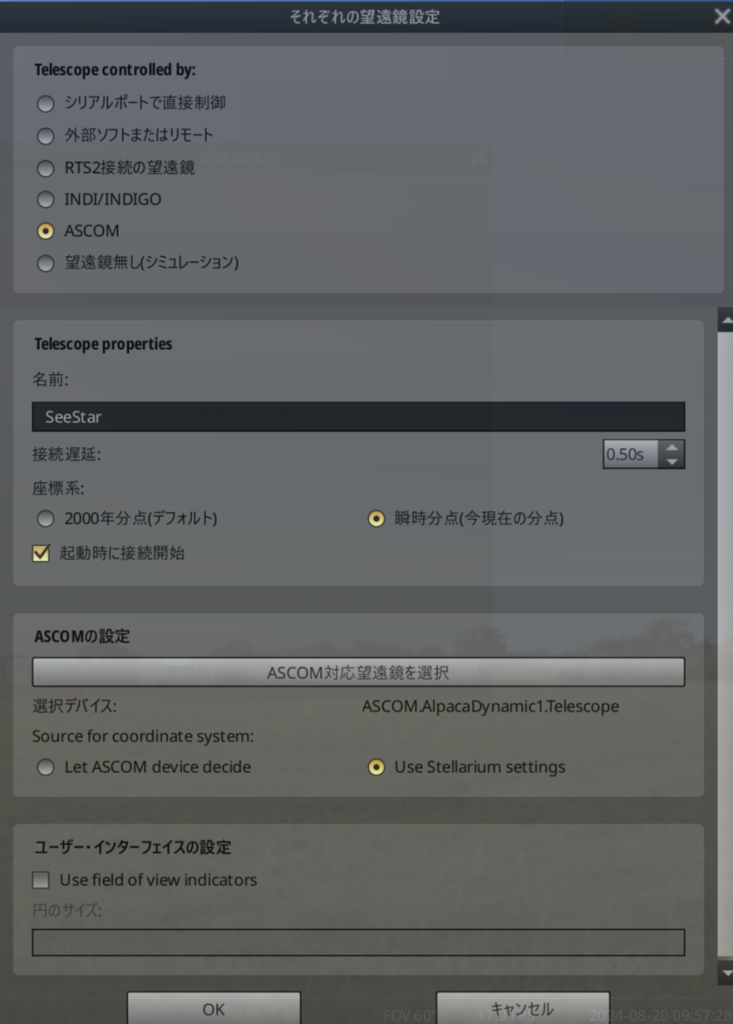
Cartes du CielでASCOM Alpaca接続の設定画面
Stellariumの設定
starnetファイルの準備
https://www.starnetastro.com/download/ からコマンドラインツールをダウンロードして、実行ファイルを登録する
ーーーーーーーーーーーーーーーーーーーーーーーーー
快適星活4回目 天体画像処理ソフトSirilの紹介
https://www.youtube.com/watch?v=OEn_rVE-yw0
ZWO SEESTAR S50 DATA POST PROCESSING
Fix your broken Seestar S50 astrophotography images with Siril
Seestar S50 Siril tutorial - easy astrophotography image processing
Using Deconvolution to Improve the Resolution of Deep-Sky Images in Siril
Conversion TAB
addfiles +
ファイル一覧を選択して
add
シーケンス名を付けて、
debayerにチェックを入れて
Convert
Calibration TAB はスキップ(seestarの場合は、S50内で処理済)
Registration TAB
Global Star Alignmentの選択を確認
Align 左画面に星が赤色で囲まれる
Plot TABで整列の様子をグラフ表示
左の画像を見るには、AutoStretchを実行
不要な画像をファイルを一枚毎確認しながら除外できる(当該ファイルの行でspace key)
上のStacking(整列) をクリック
必要に応じて、クロップ(左に表示される画像をマウス操作で選択し、、)
背景の除去(Background Extraction)
一番暗い部分を選択して
生成ボタン
背景計算
グリーンノイズの除去(必要に応じて?)
画像処理(左上)
色補正
画像パラメタで、対象の星雲名を入力して、検索をクリック
見つかると、Rsolver Name の欄に名前が表示される
OKボタン
上メニュー 保存
線形モードで表示
画像処理(右上)
StarNet Star removal
prestretch linear imageにチェックを入れる
Hypabolic Stretch
Local Stretchスライダーを最大に
Stretch Parametersスライダーで調整
{ 調整は、画面を見ながら試行錯誤 }
カラーサチレーションで調整
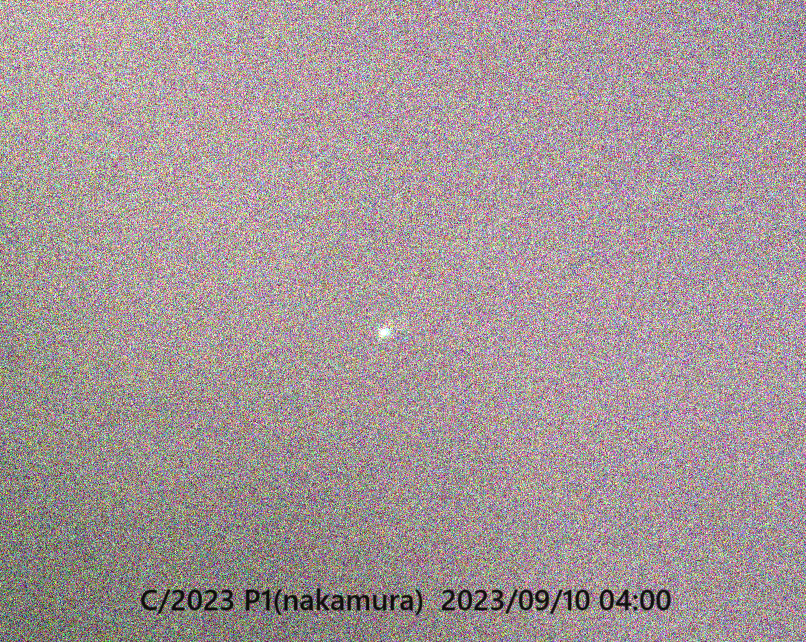
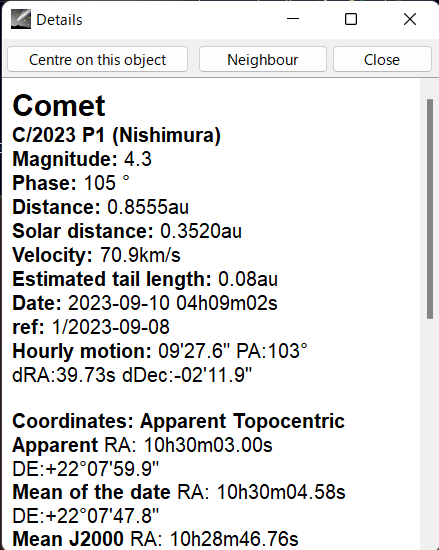
ノイズリダクション高度が低い上、雲が多く、彗星らしい姿には撮影できず。明るさが4.3等となっていて、雲を通しても一応撮影はできました。
1月20日
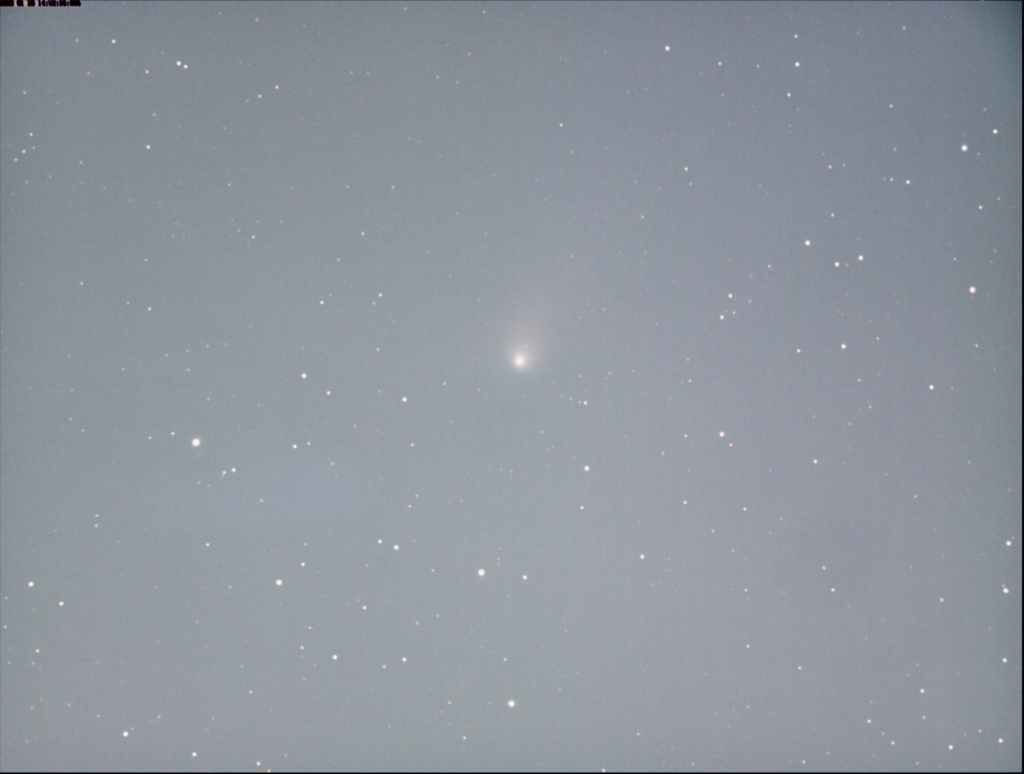
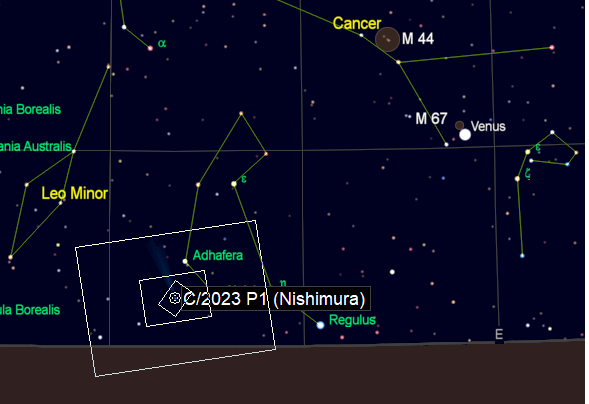
C/2022 E3(ZTF)彗星 1月17日