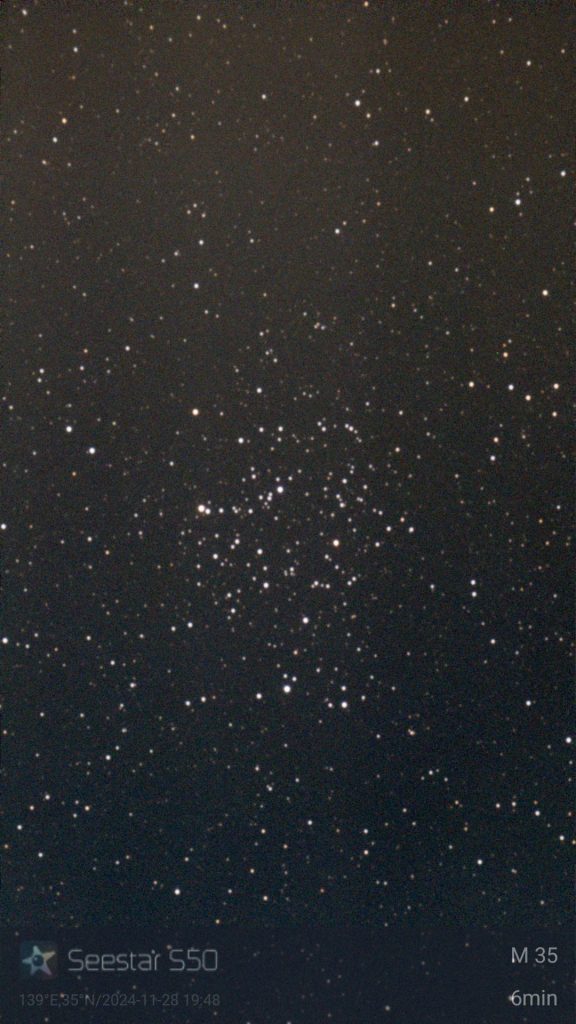
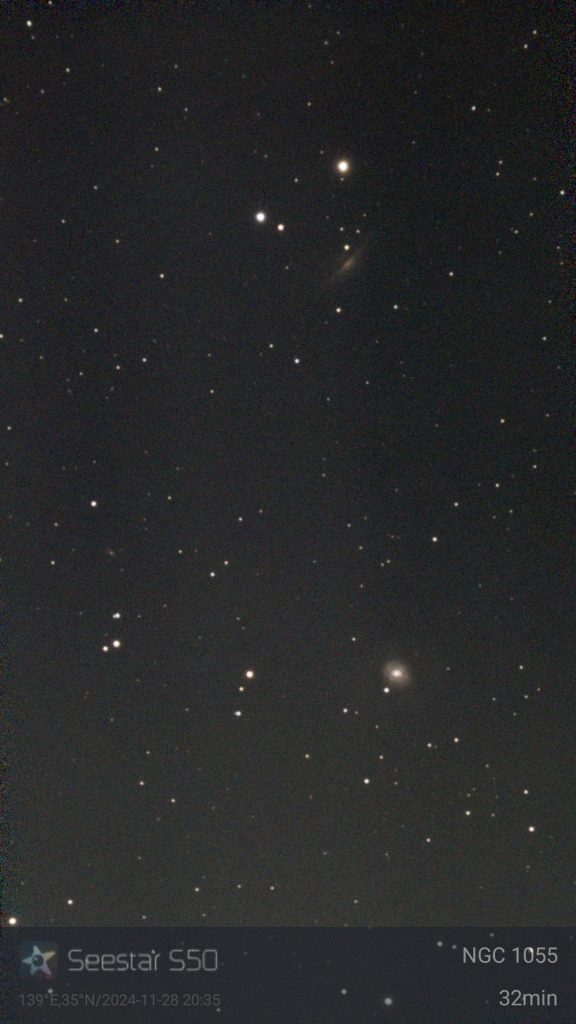
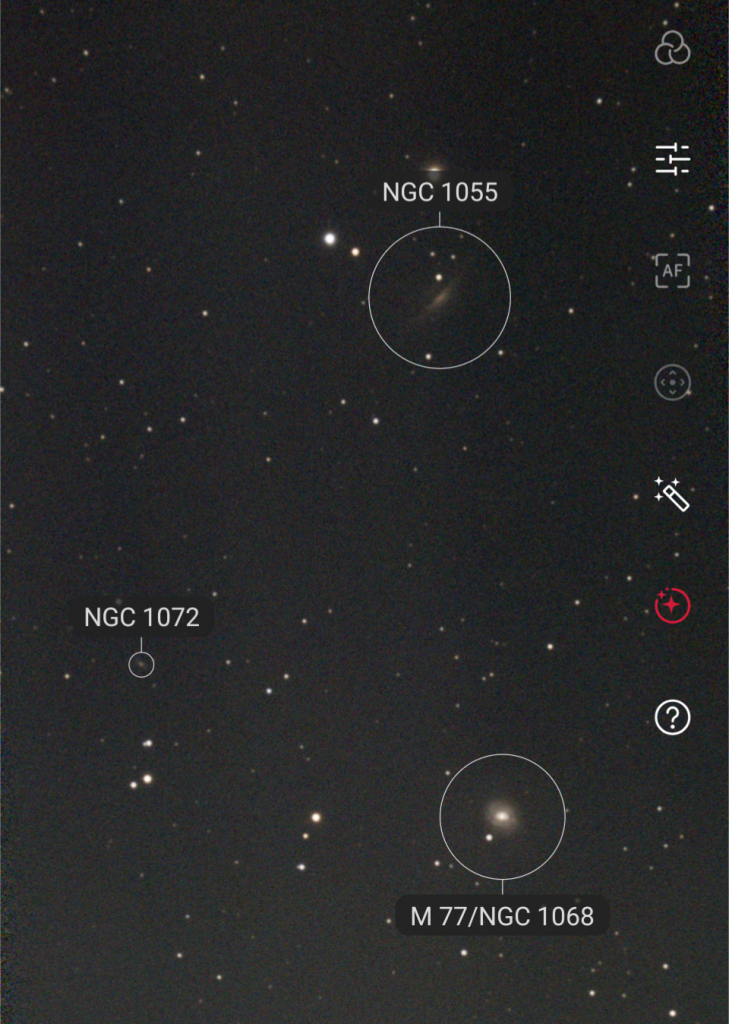
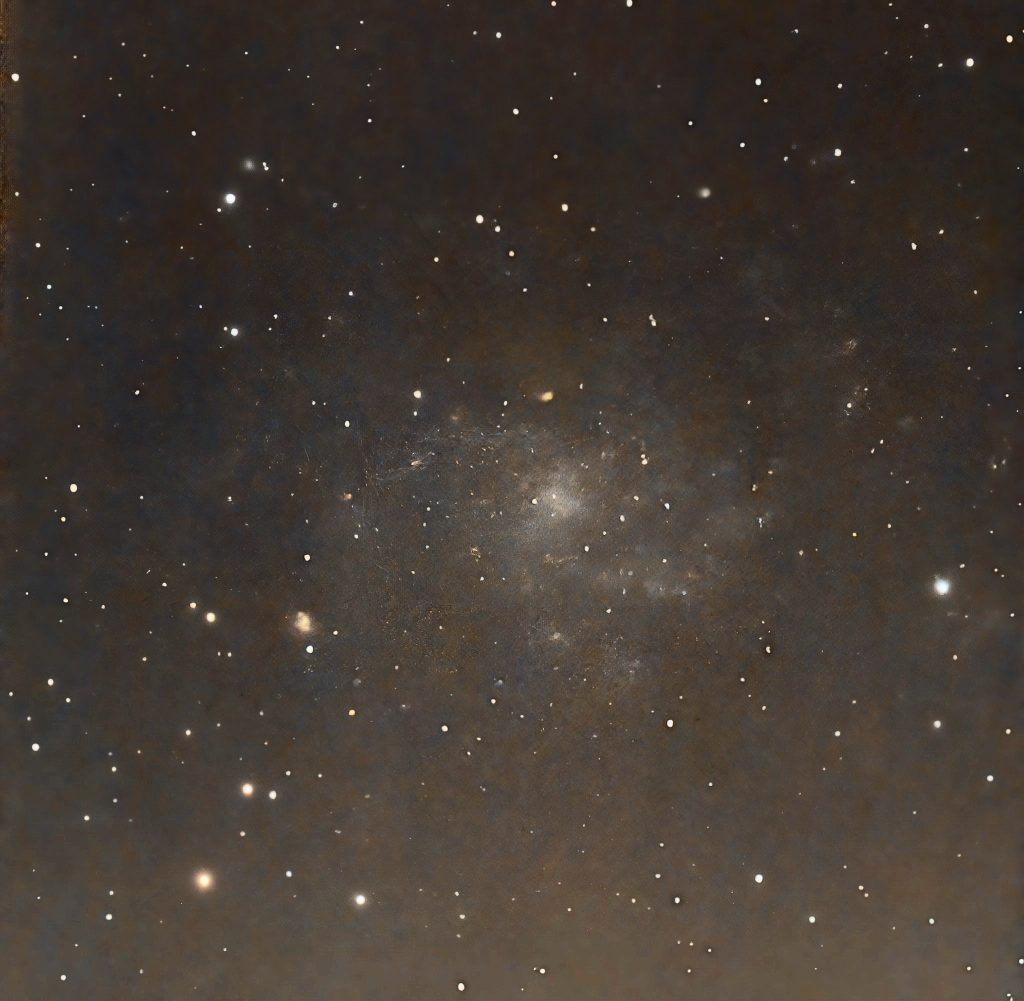
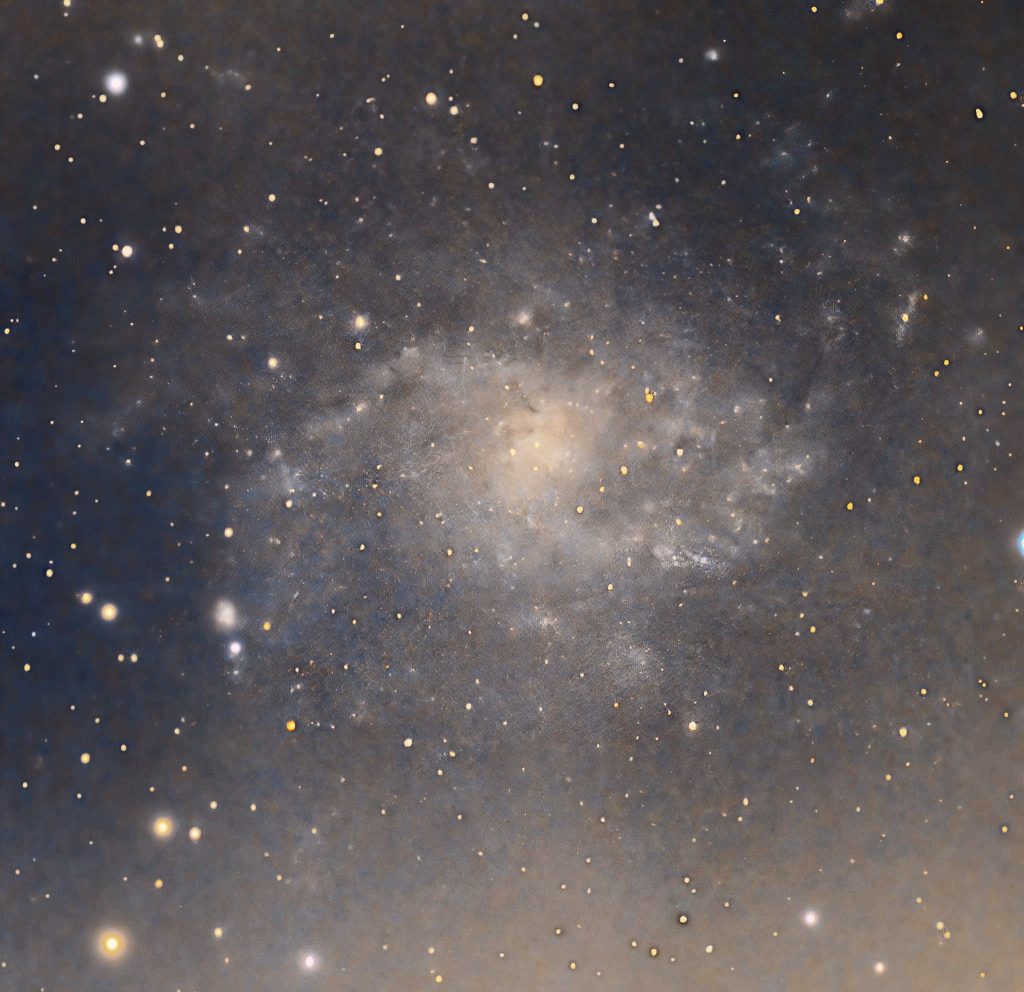
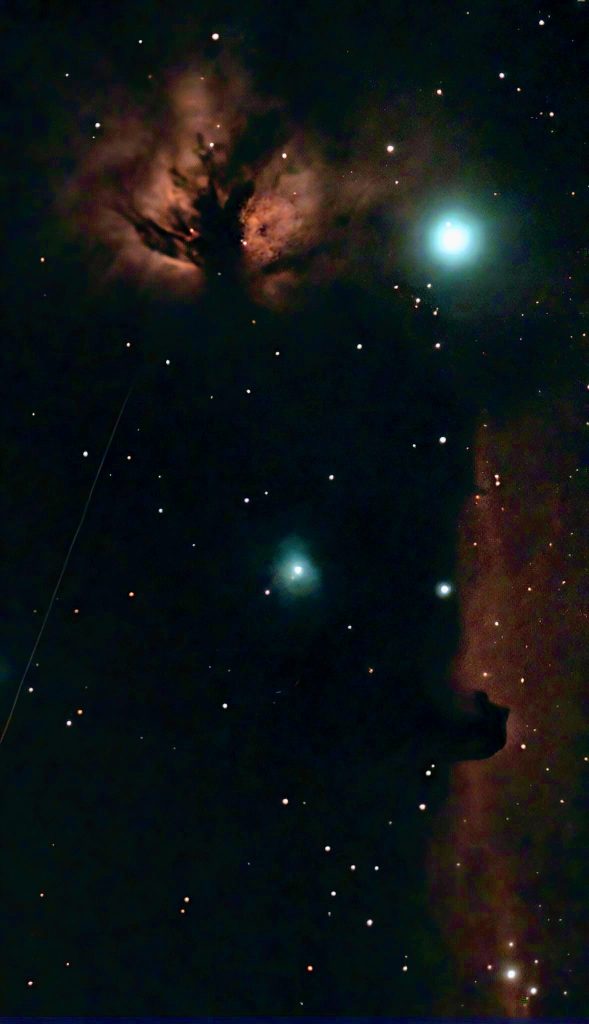
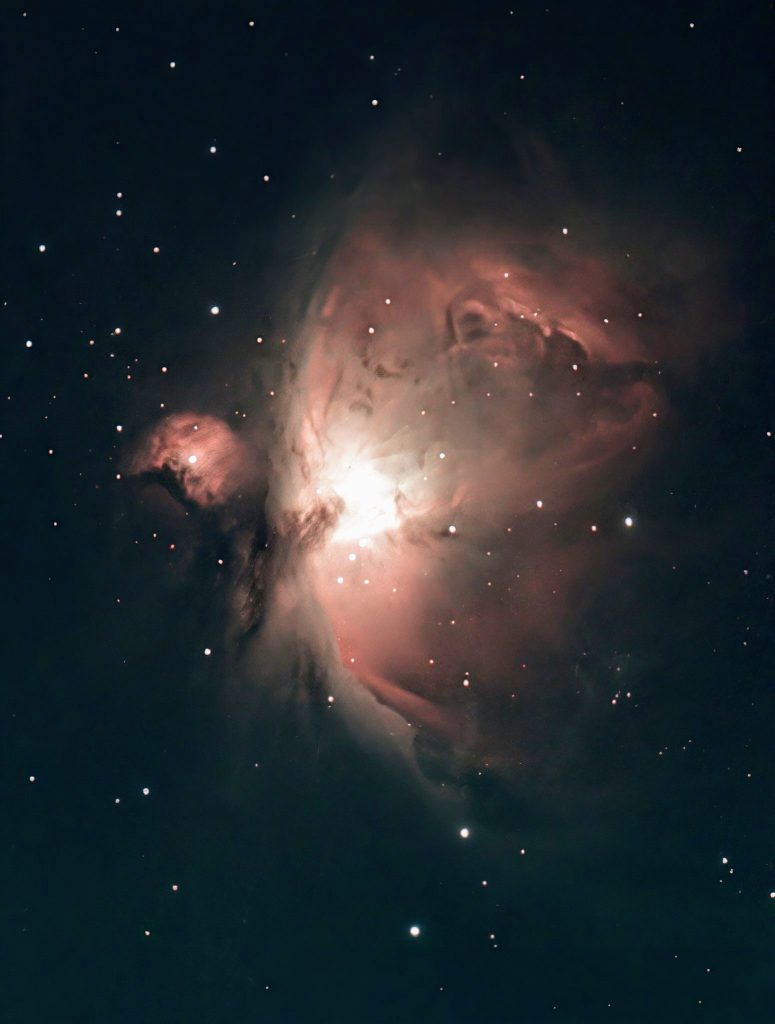
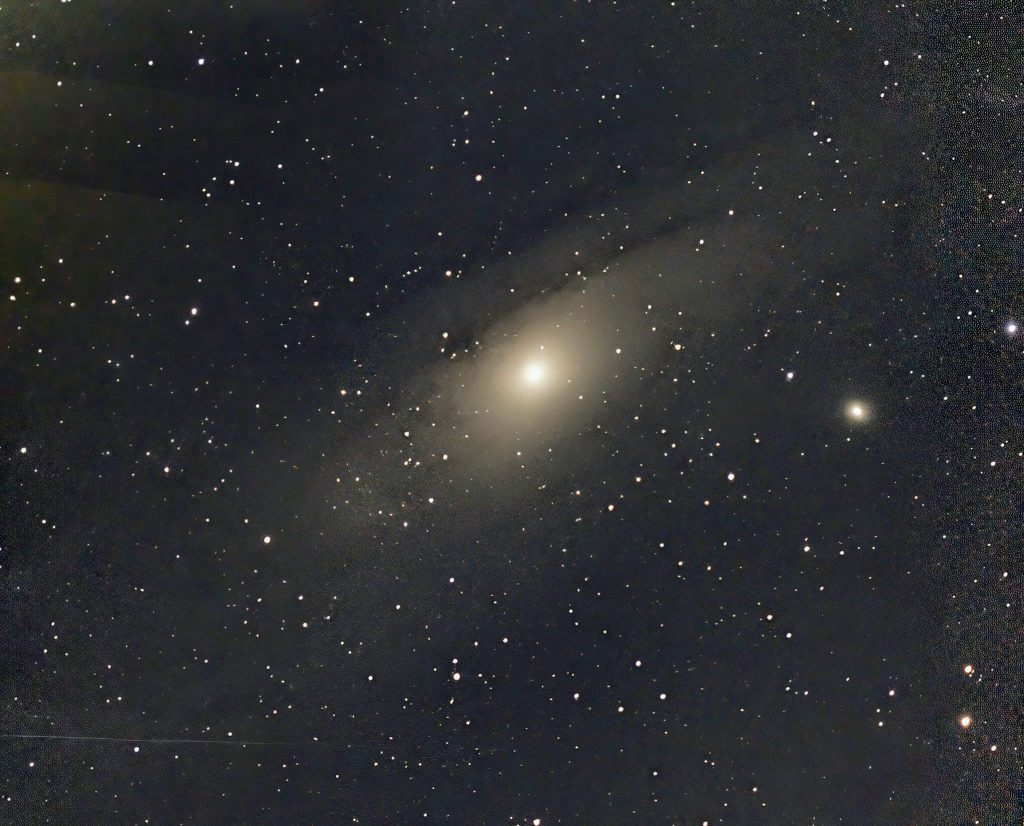
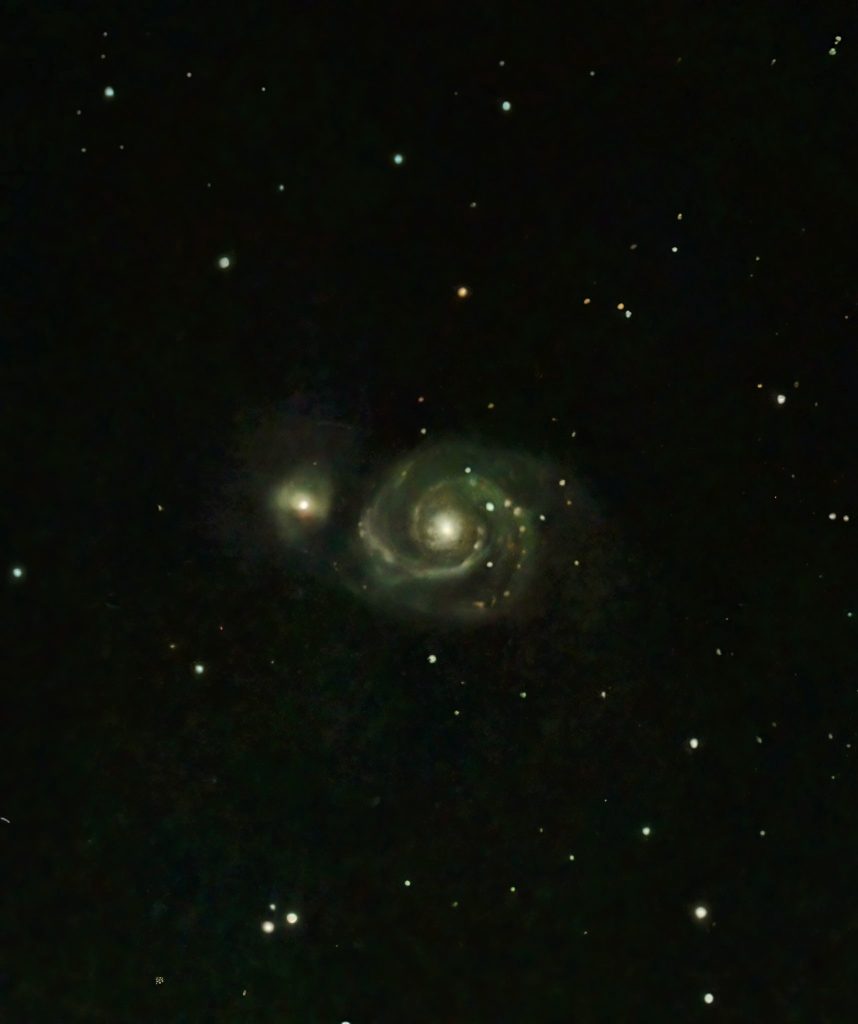
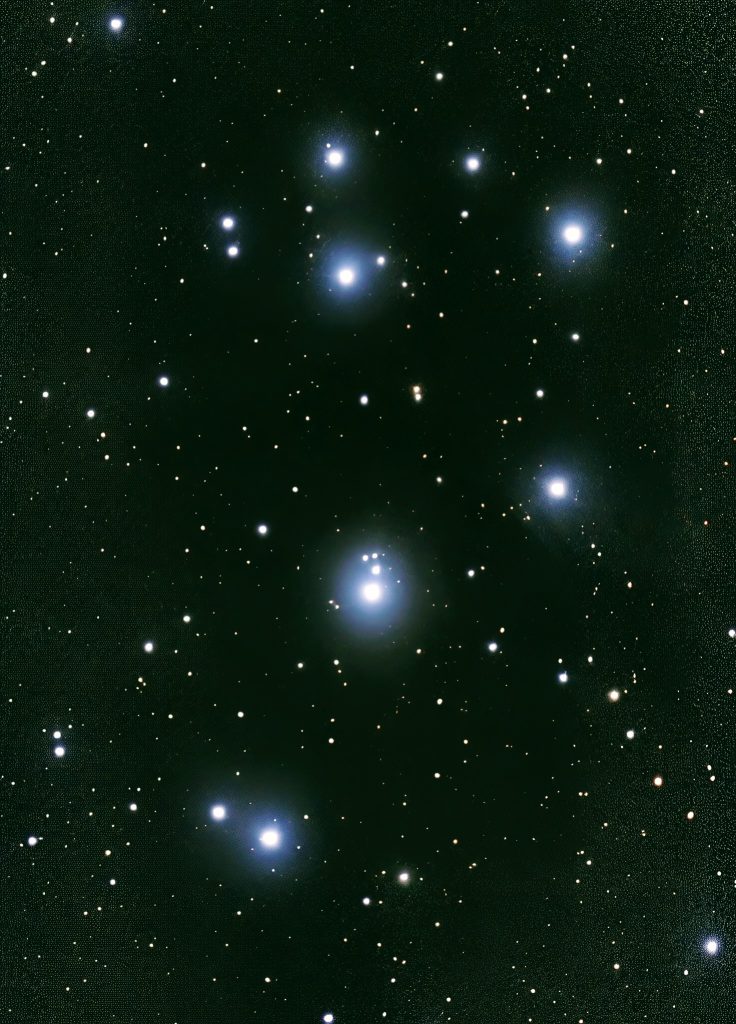
NCG2238 バラ星雲 M31 アンドロメダ銀河
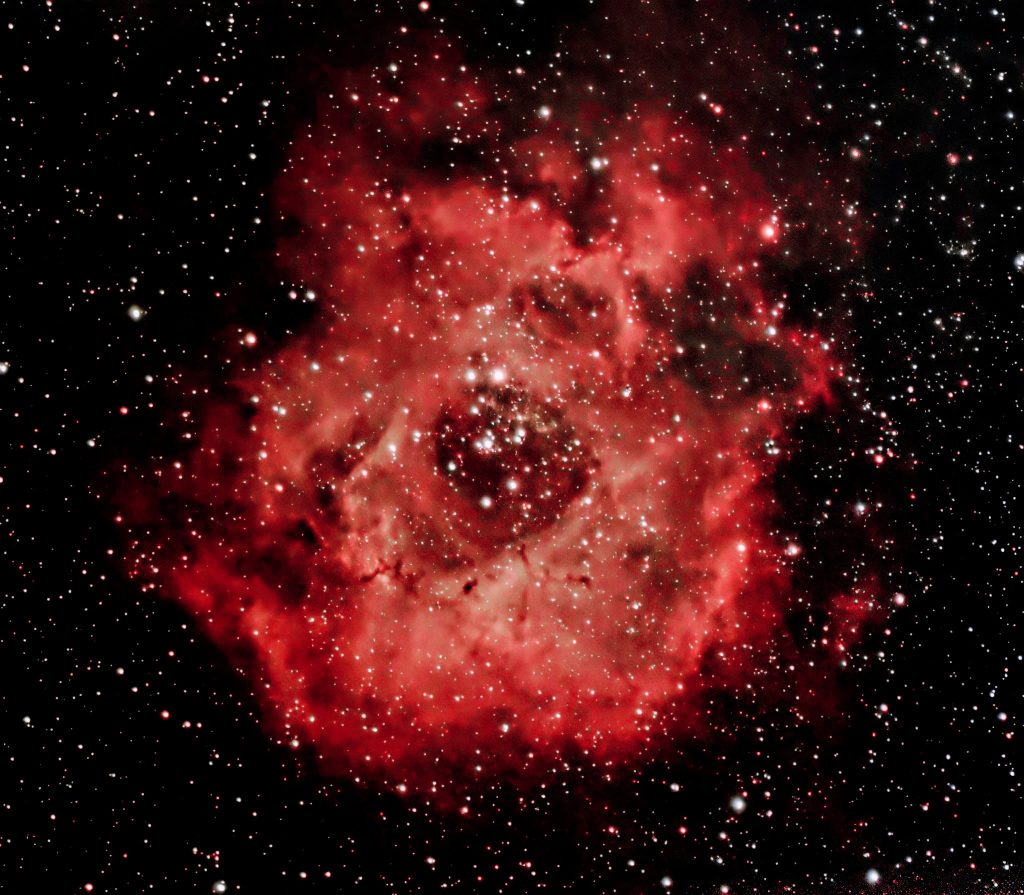
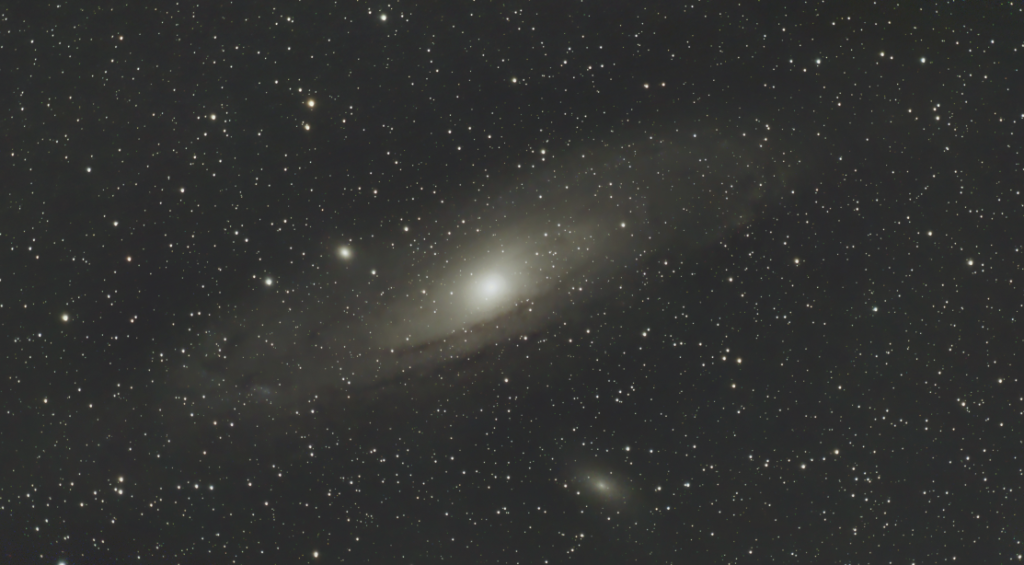
NCG2238 バラ星雲 M31 アンドロメダ銀河
比較明合成画像の作成
comp.sh
---------------------------------------------
#!/bin/bash
F=$1
# 現在のディレクトリ内のJPEGファイルを取得
images=($F*.jpg)
# 出力ファイル名
output="$F.jpg"

# 入力ファイルが1つもない場合はエラー終了
if [ ${#images[@]} -lt 2 ]; then
    echo "エラー: 比較明合成には2枚以上の画像が必要です。"
    exit 1
fi

# FFmpegコマンド用の入力とフィルタチェーンを構築
inputs=""
filter_complex=""
for i in "${!images[@]}"; do
    inputs="$inputs -i ${images[i]}"
    if [ $i -eq 0 ]; then
        filter_complex="[0:v]"
    else
        filter_complex="${filter_complex}[${i}:v]blend=all_mode=lighten"
        if [ $i -ne $((${#images[@]} - 1)) ]; then
            filter_complex="${filter_complex}[tmp$i];[tmp$i]"
        fi
    fi
done

# 最終的なコマンドの実行
ffmpeg $inputs -filter_complex "${filter_complex}" -y "$output"

echo "比較明合成が完了しました: $output"
複数のmp4動画を結合するためのリスを生成
mcomp.sh
----------------------------------------
#!/bin/bash
F=$1
# 現在のディレクトリ内のJPEGファイルを取得
images=($F*.jpg)
# 出力ファイル名
output="$F.jpg"

# 入力ファイルが1つもない場合はエラー終了
if [ ${#images[@]} -lt 2 ]; then
    echo "エラー: 比較明合成には2枚以上の画像が必要です。"
    exit 1
fi

# FFmpegコマンド用の入力とフィルタチェーンを構築
inputs=""
filter_complex=""
for i in "${!images[@]}"; do
    inputs="$inputs -i ${images[i]}"
    tmp=`echo ${images[i]} | sed s/jpg/mp4/`
    echo "file $tmp -vframes 10 -c:v copy "
リストの一例(mcomp.shの出力)
file ATOM-A_006_059_20241214_044836.mp4 -vframes 10 -c:v copy
file ATOM-A_004_049_20241214_050034.mp4 -vframes 10 -c:v copy
file ATOM-A_024_078_20241214_185304.mp4 -vframes 10 -c:v copy
file ATOM-A_010_045_20241214_202037.mp4 -vframes 10 -c:v copy
file ATOM-A_006_052_20241214_223628.mp4 -vframes 10 -c:v copy
file ATOM-A_011_057_20241214_223659.mp4 -vframes 10 -c:v copy
file ATOM-A_007_061_20241214_224544.mp4 -vframes 10 -c:v copy
file ATOM-A_005_043_20241214_224728.mp4 -vframes 10 -c:v copy
.....................
mp4動画の結合
video.sh  $1には、ATOM-A | ATOM-B
---------------------------------
#!/bin/bash

TGT=$1
OUT=$1.mp4
path=/var/www/html/meteor
$path/mcomp.sh $TGT | sed '1d' - >$1.txt
ffmpeg -f concat -safe 0 -i $1.txt -c copy $OUT$ influx
Connected to http://localhost:8086 version 1.8.10
InfluxDB shell version: 1.8.10
> show databases
name: databases
name
----
_internal
iot01
munin
> use iot01
Using database iot01
> show tag keys
name: ESP32
tagKey
------
device
name: measurements
tagKey
------
device
name: pi2B
tagKey
------
host
place
.........
.........
>DROP SERIES FROM ESP32
https://qiita.com/Ninagawa123/items/df3930cdecb2e1500f96
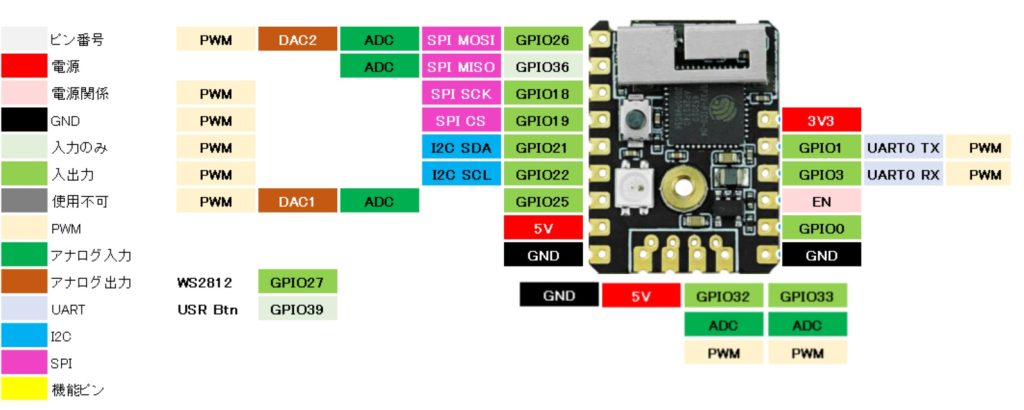
STAMP PICO	USB-SERIAL
3v3	        3v3/Vcc※1
Tx0	        RX
Rx0	        TX
EN	        DTR(RTSと接続が正解?)
0	        GND※2
GND	        GND
※2 書き込み時はSTAMP PICOの0と書いてあるピンをGNDに接地させる。

#define BUTTON_PIN   39 // atom nano の内蔵PINは39
#define PIXEL_PIN    27  // Digital IO pin connected to the NeoPixels.
#define PIXEL_COUNT 16  // Number of NeoPixels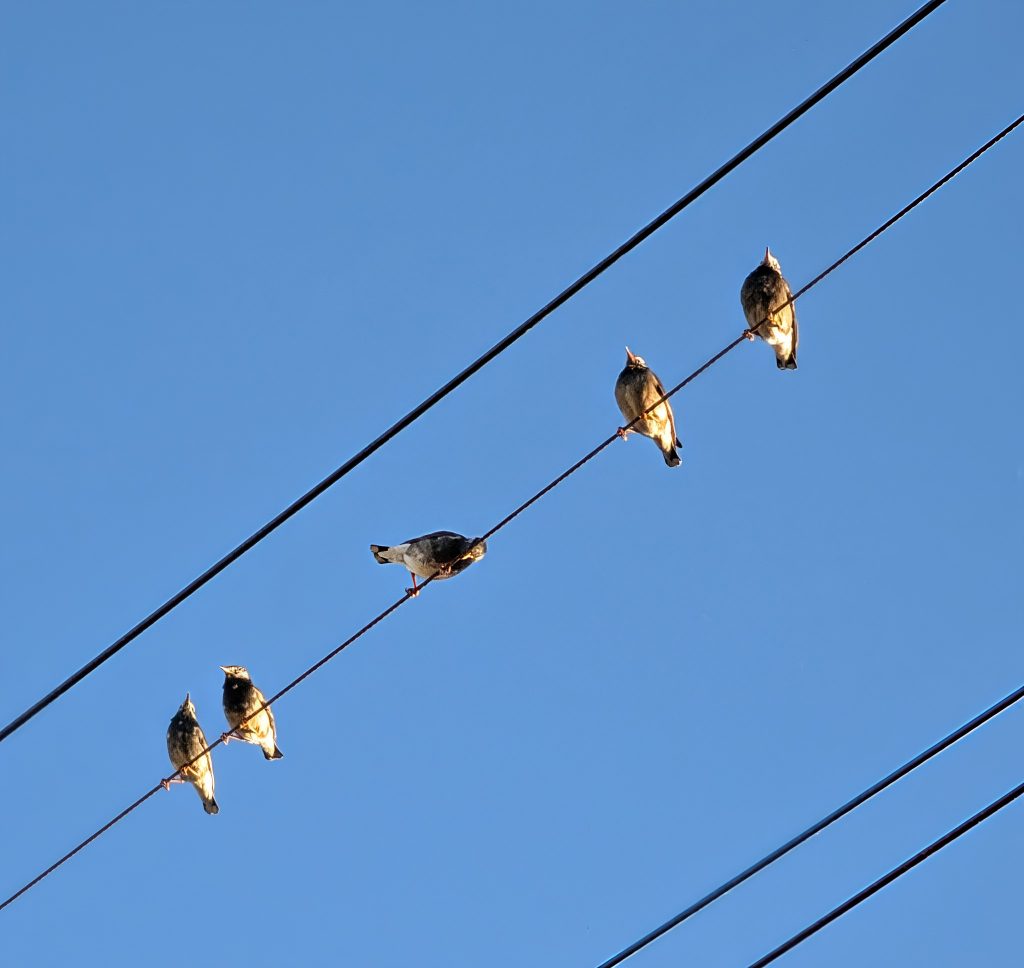
InfluxDB : インストール
https://www.server-world.info/query?os=Ubuntu_24.04&p=influxdb&f=1
Grafana : インストール
https://www.server-world.info/query?os=Ubuntu_24.04&p=grafana